
How to Make a Tall & Skinny Soap Mold
INFORMATION
- Difficulty: Easy
- Yield: 1 Mold and 1 Liner
TIMING
- Prep Time: 5 Minutes
- Perform Time: 45 Minutes
- Total Time: 50 Minutes
SUPPLIES
- Cereal Box
- Piece of Corrugated Cardboard (Around 10″ x 10″ or bigger; For support on sides of mold)
- Marking Tool (pen, pencil, or marker)
- Ruler
- X-Acto® Knife
- Scissors
- Cutting Mat
- Glue
- Rubber Bands
- Packaging Tape
- Masking Tape
- Freezer Paper (found with paper and plastic wrap in household items sections in stores)
DIRECTIONS
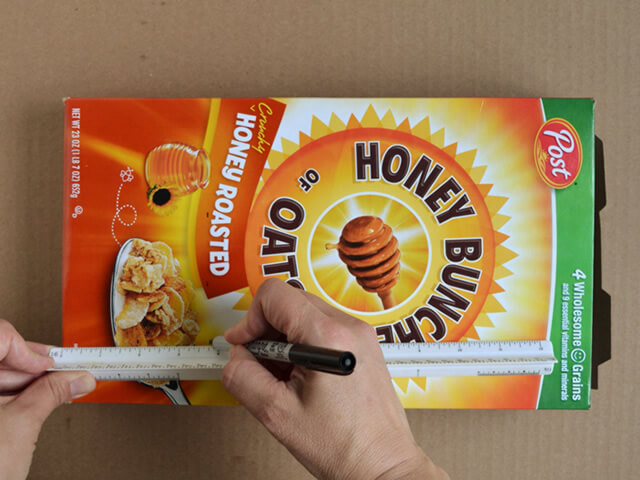
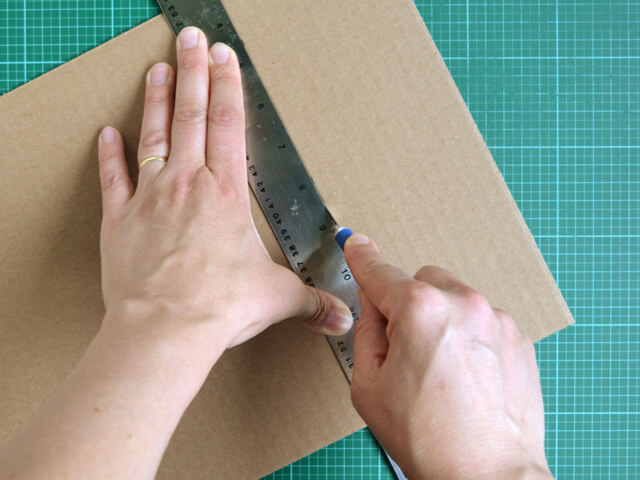
Step 1 – Mark & Cut Box
Mark 3 ¾” up from the bottom of the box.
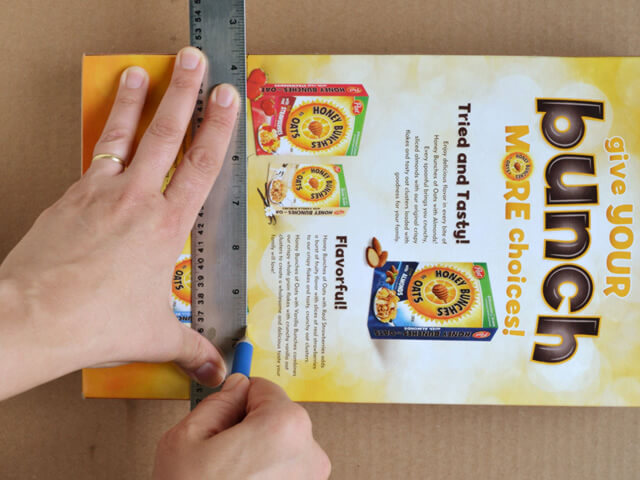
Next, join lines and carefully cut with scissors or X-Acto® Knife.
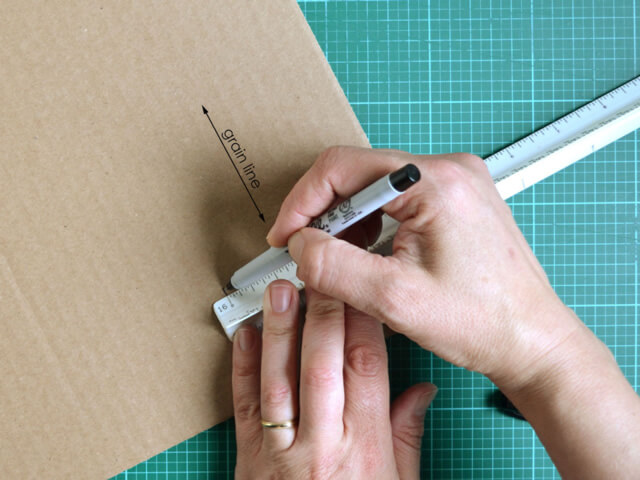
Step 2 – Mark and Cut Corrugated Cardboard Support
Mark 3 ¾” from the edge of the cardboard, marking parallel to the grain line.
Next, join lines and carefully cut with scissors or X-Acto® Knife.
Step 3 – Fit Corrugated Cardboard to Sides of Box
Mark and cut cardboard slightly smaller than the width of the sides of the cereal box.
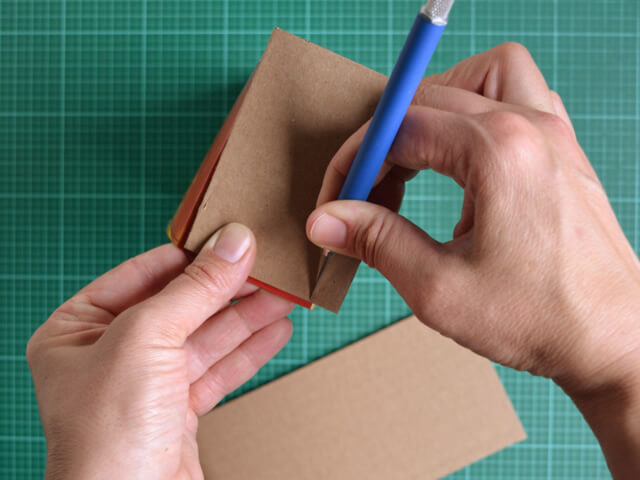
Glue cardboard to sides of box.

Add rubber bands to hold in place.
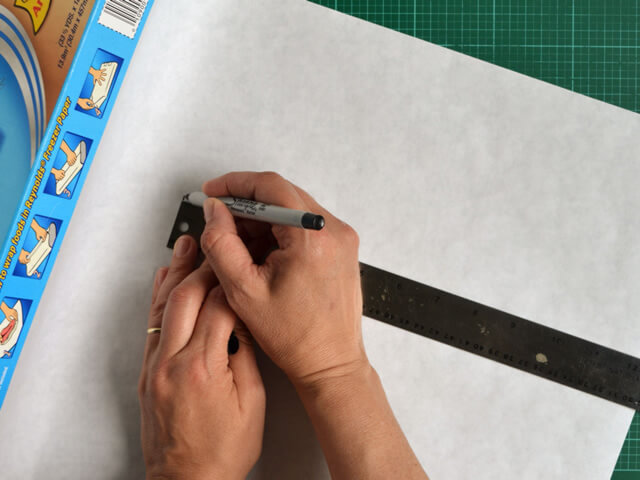
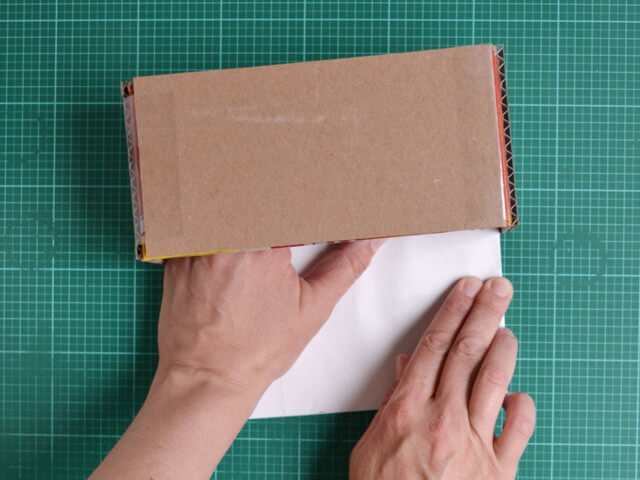
Step 4 – Make Freezer Paper Liner(s)
If your box is a different shape, your measurements will be different. Add side, bottom, side, then add 2.75 to each measurement for a 1 3/8” overhang on each side. This is how my measurements look:
My short length of liner is: 3.75” + 2.25” + 3.75” = 9.75” Add 2.75” for the overhang (1.375” each side) = 12.5”
My long length of liner is: 3.75” + 7.75” + 3.75” = 15.25” Add 2.75” for the overhang (1.375” each side) = 18.0”
My freezer paper is already 18” wide so I just need to mark 12 ½” up from the edge. Cut freezer paper to proper measurements. If you are planning on reusing the mold it would be a good time to cut extra for your convenience later.
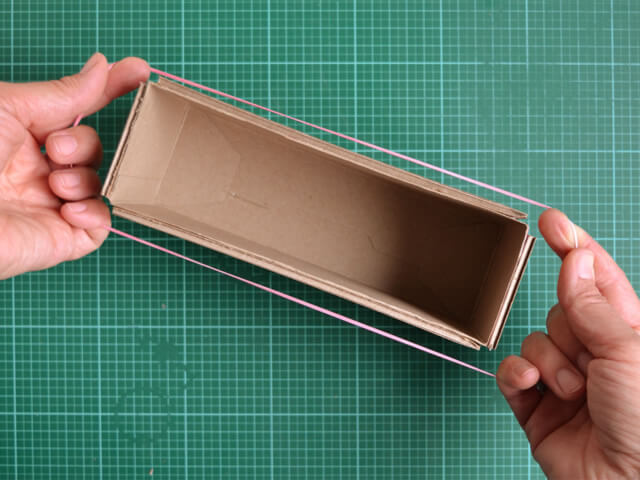
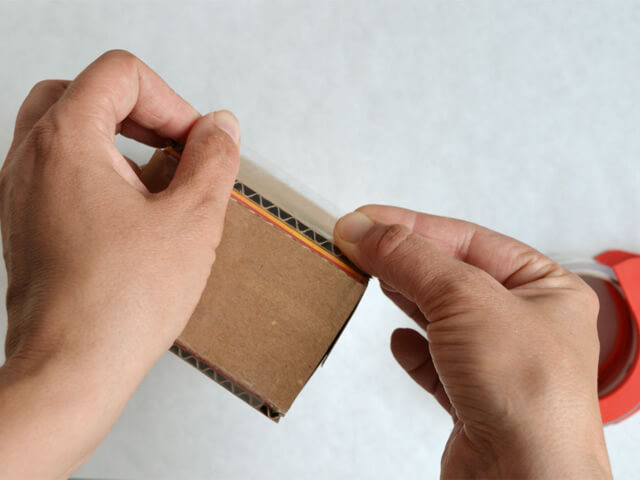
Step 5 – Tape to Reinforce Corners
When the glue has dried remove rubber bands and tape corners with packaging tape.
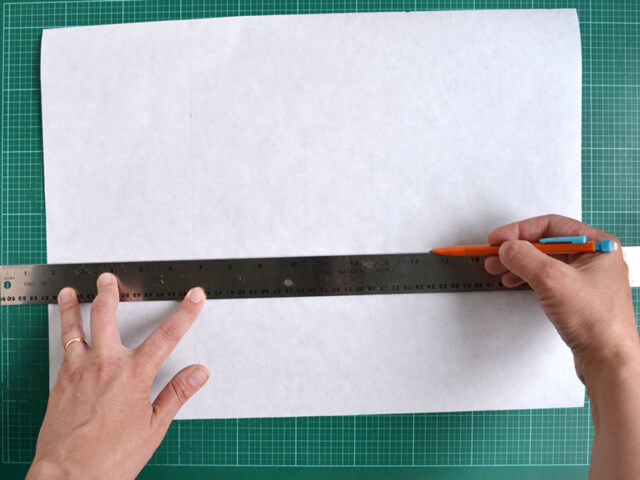
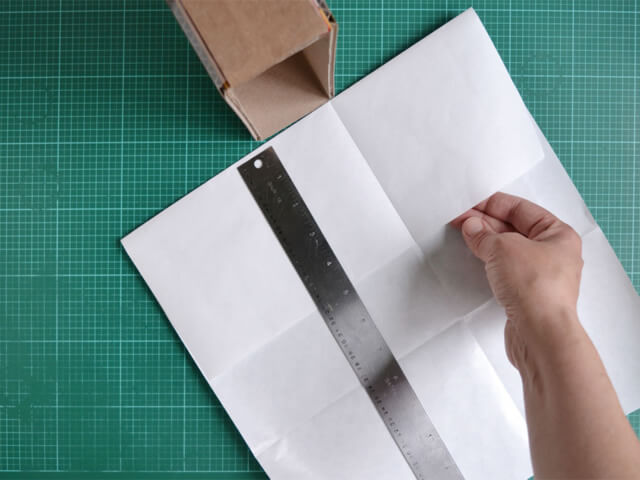
Step 6 – Make Liner
Mark 5 1/8” from left side and up from bottom of paper or box high measurement (3.75”) + overhang measurement (1.375”) on non-shiny side of paper.
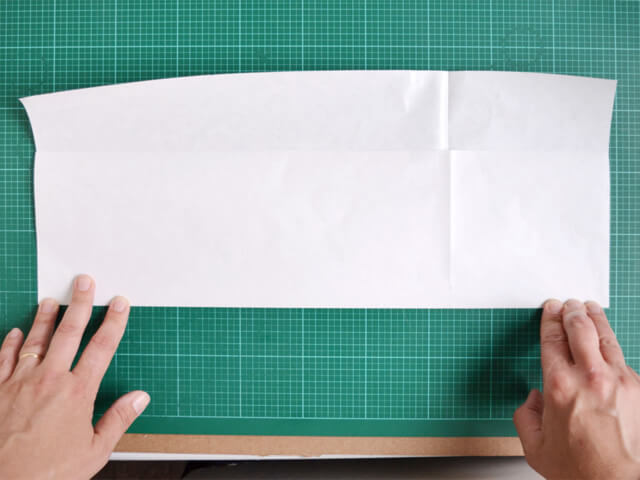
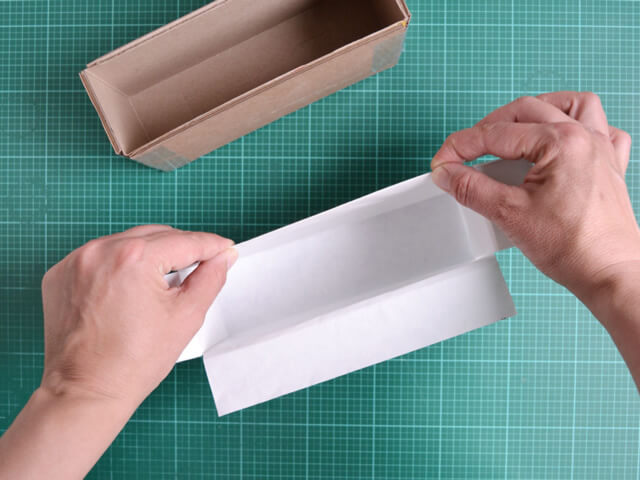
Now fold on one line, then open, and fold on the other line, as shown below. Make sure shiny side of paper is on the inside of the fold. This will allow the soap to release from the mold easily.
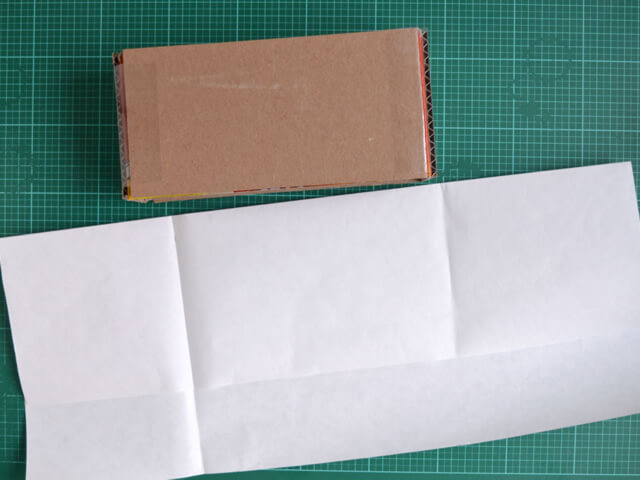
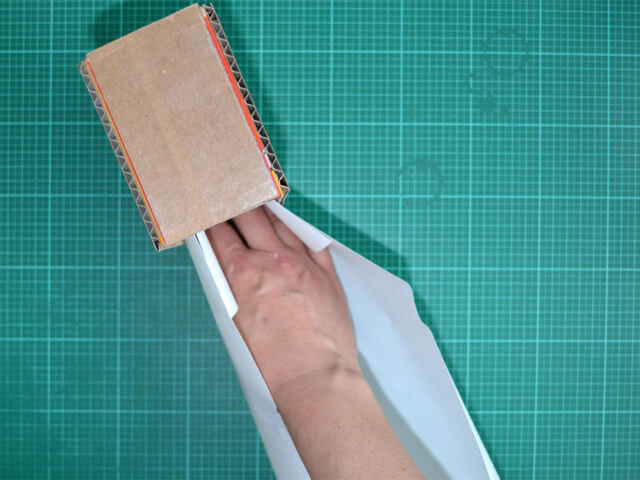
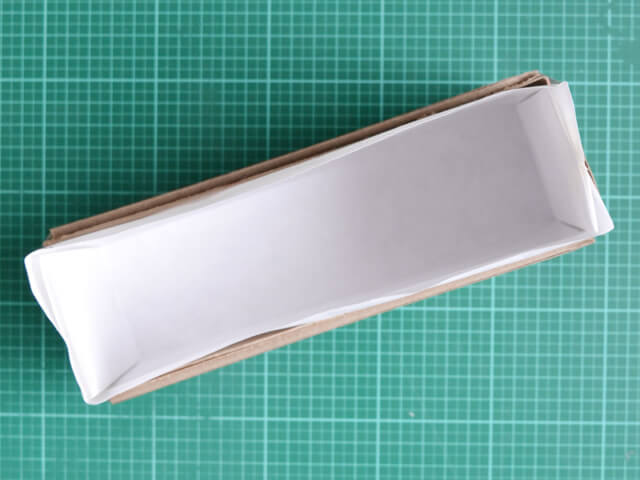
Turn paper 180° and set mold on side as shown. Fold in left side on pre-folded line. Slide this folded side slightly into mold and crease opposite side to get a good fit.
Fold and slide all the way in to make sure the fit is good. Adjust if necessary.
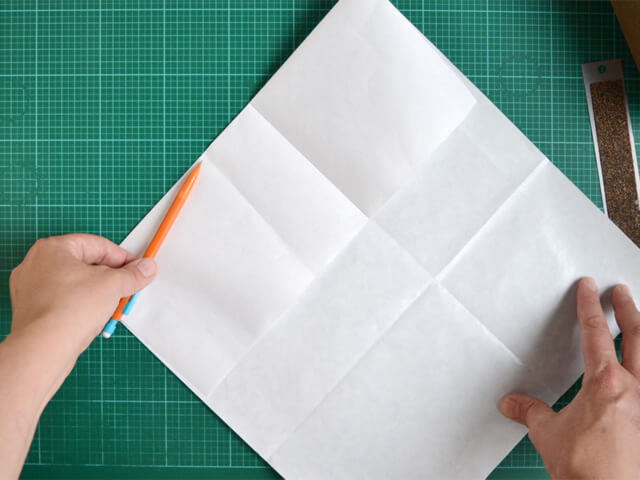
Open and fold other pre-folded side (right side in photo) and repeat as above to crease left side.
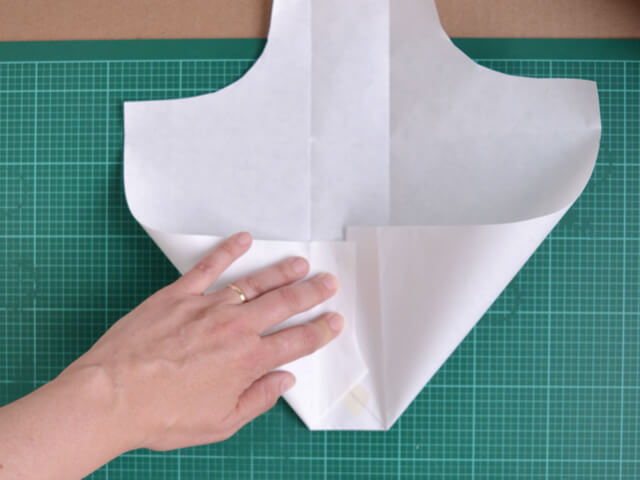
Crease left side as shown.
Using this crease, make a fold, making sure to line up left edge of paper when folding to get a 90° fold line.
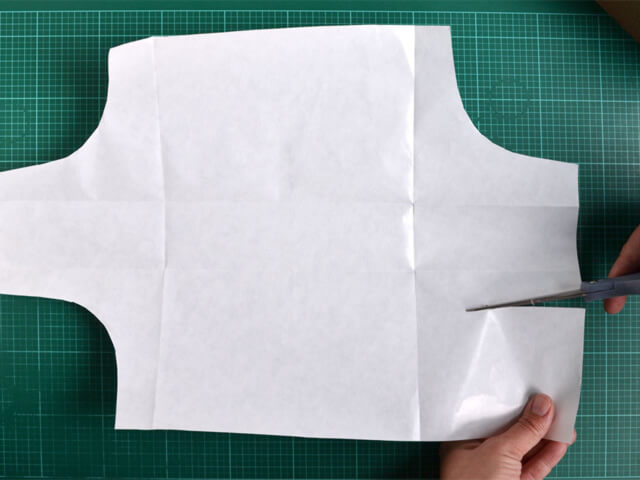
Cut out corners as shown to get rid of excess paper.
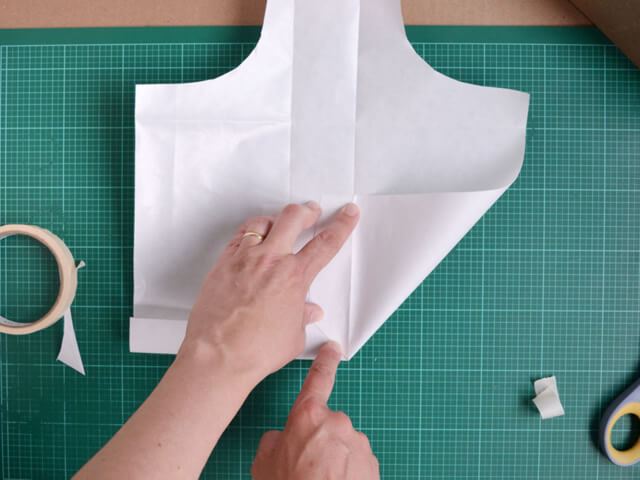
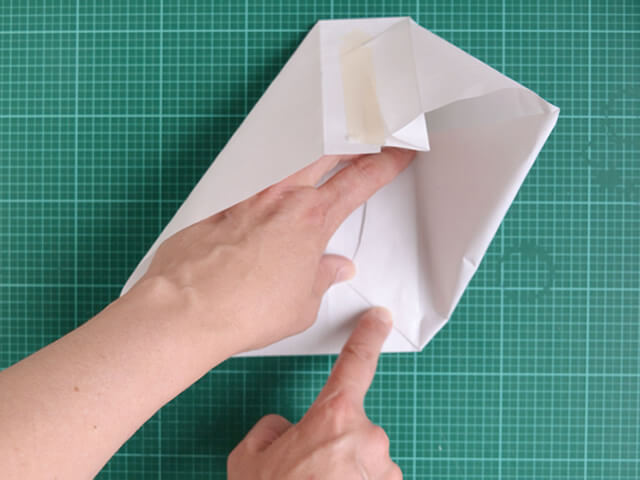
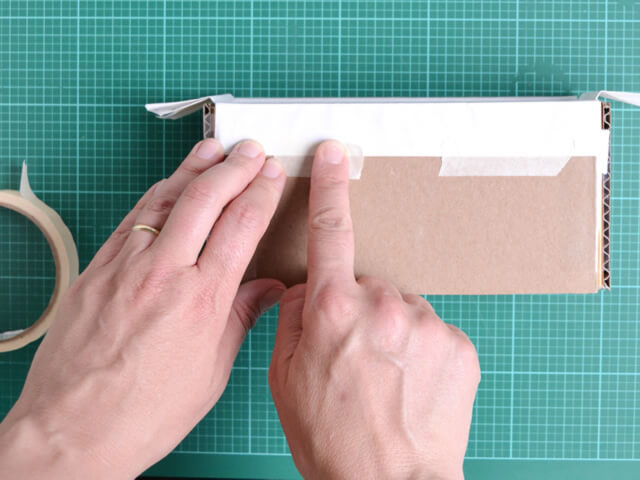
Fold corner where the two lines intersect at a 45° angle. (This fold will make two 45° angles. Only crease the one that is under my right pointer finger as shown below.)
Tape fold in place. Masking tape is a good tape to use because it is easy to get off when removing soap from mold.
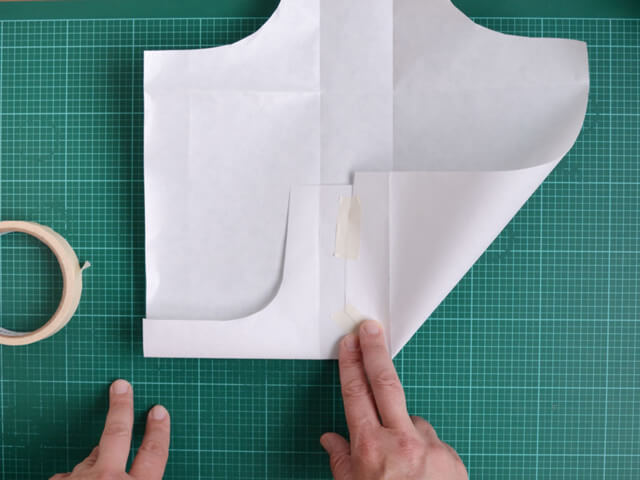
In the same manner fold the other intersecting corner at a 45° and tape.
Repeat on opposite end of liner. It can be tricky because of the tight space, but just keep going; it will work out fine.
Place liner in mold.
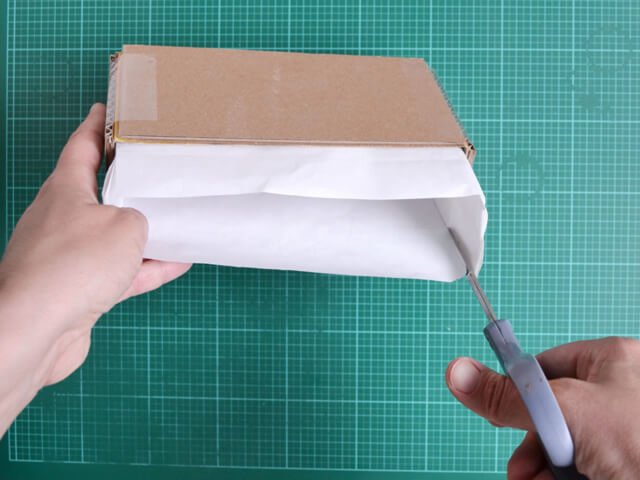
Cut down to where the liner meets the mold in each corner.
Crease around edge to get fold lines. Remove liner from mold and fold on the grease lines.
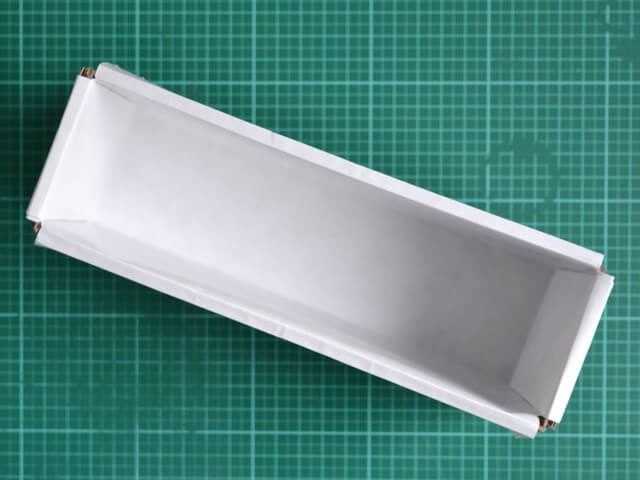
Insert liner back into mold and tape edges down with masking tape.
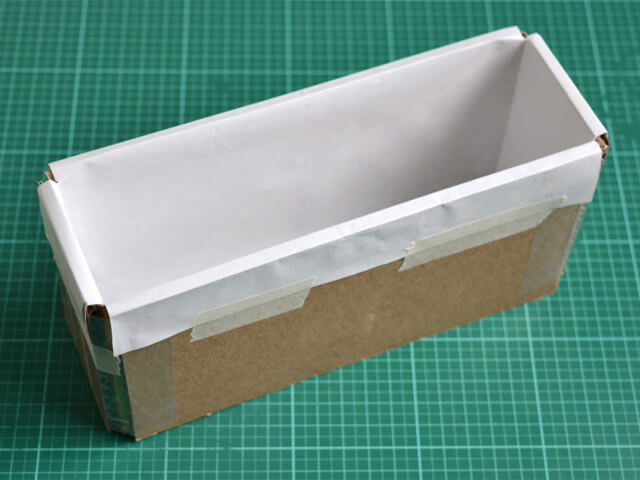
And your mold is ready to use.
And reuse!
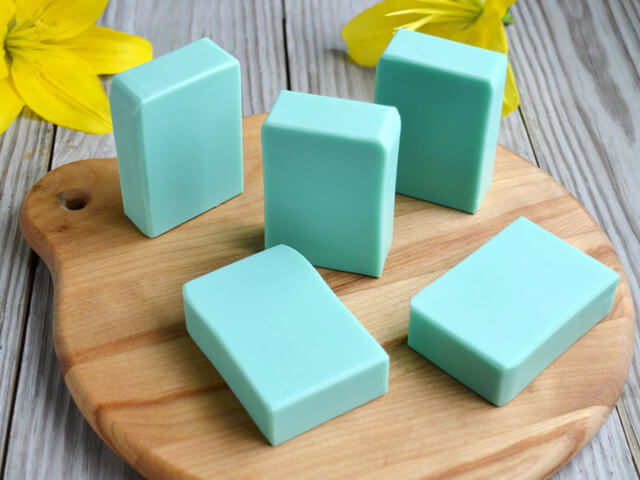
And the result is lovely tall and skinny soap. Enjoy!
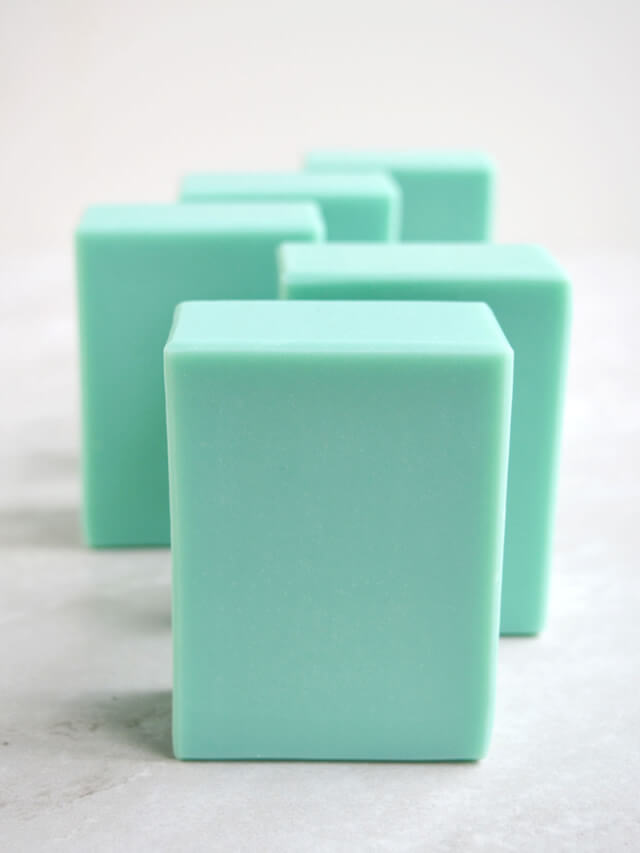
Use this tall & skinny soap mold to make Carrot & Lemongrass Cold Process Soap, Pastel Peaks Cold Process Soap, & Palm-Free Bronze Beauty Cold Process Soap.
SHARE ON SOCIAL MEDIA
![]()
![]() Share this tutorial on Facebook
Share this tutorial on Facebook![]()
![]() Tweet about this tutorial
Tweet about this tutorial


