
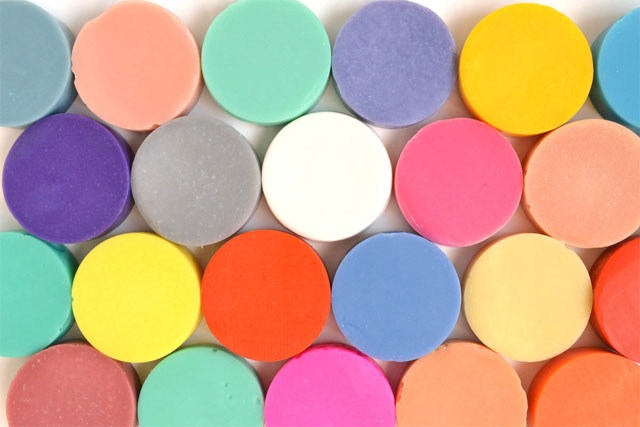
How to Test Colors in Cold Process Soap
INFORMATION
- Difficulty: Moderate
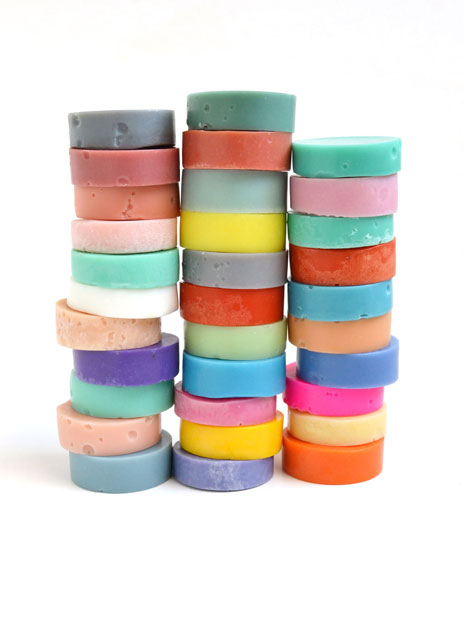
- Yield: 30 Color Samples
TIMING
- Prep Time: 15 minutes
- Perform Time: 2 hour, 30 minutes
- Total Time: 2 hour 45 minutes (longer if putting through gel)
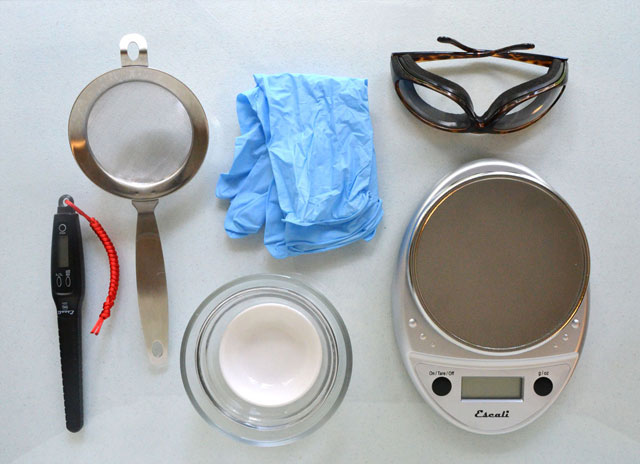
SUPPLIES
- Digital Thermometer or Infrared Thermometer
- Fine Mesh Strainer (Stainless Steel)
- Extra Long Disposable Gloves (easily found in dishwashing section at local supermarket)
- Small Containers (for holding ingredients
- Goggles
- Digital Scale
- Plastic Wrap
- Paper Towels
- Squeeze Bottle with Liner (optional)
- 3 x Funnel Pitchers
- Plexiglass or other apropriate surface to mix colorants on
- 2 x 15 Capacity Round Bar Silicone Soap Mold 1.5″ x 0.8″ (optional)
- 2 x Boards to Stabilize the Cups or Silicone Molds (we use foam board cut to 8.5″ x 11″)
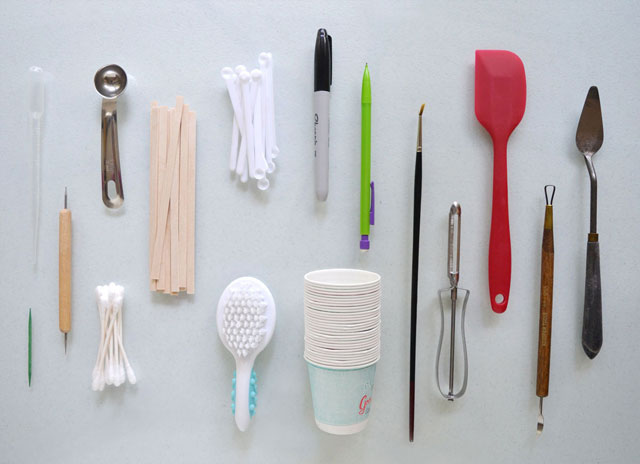
- Pipettes (if testing any fragrance or essential oils)
- Embossing Stylus, Toothpick, or Other Tool to Mark Samples
- 1 tsp. Measuring Spoon
- Pointed Tip Cotton Swabs (Q-Tips) (for cleaning .15cc scoops)
- 30 x Skinny Sticks or Popsicle Sticks (for stirring)
- 30 x 0 0.15cc Measuring Scoops (or use a few and clean out with cotton swabs)
- Soft Brush (for use when cleaning marked soap) (we used a new baby hair brush) (optional)
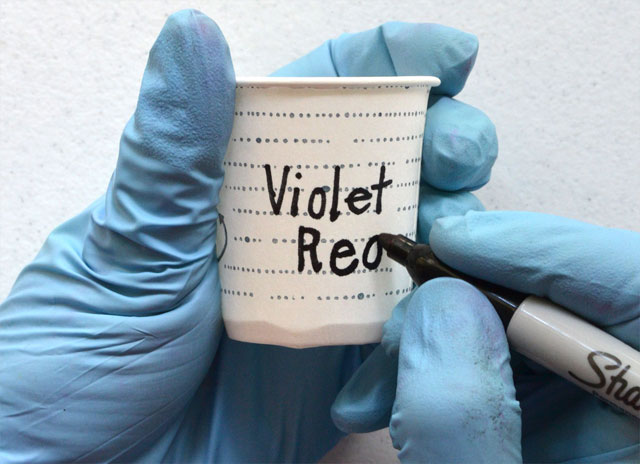
- Permanent Marker (to mark cups if not using silicone molds)
- Pencil for Making Notes on Colorants or Fragrances
- 30 x 3 oz Paper Cups
- Paint Brush (for removing loose soap when marking soap) (optional)
- Vegetable Peeler, Planer, or Detail & Clean-Up Tool (for removing and soda ash)
- Spatula
- Palette Knife (for premixing colorant with oil)
- Stick Blender (not pictured)
If forcing Through Gel (we recommend forcing through gel if that is what you normally do):
- Heating Pad
- Timer
- Towels/Blankets

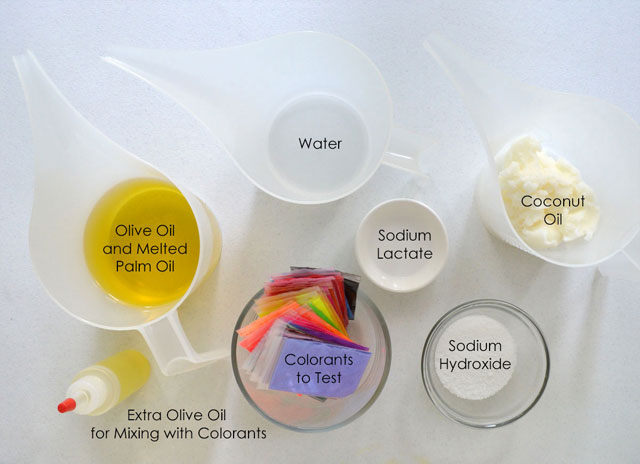
INGREDIENTS
- 193 g Olive Oil (44%) (plus additional oil for dispersing colorants)
- 141 g Palm Oil (Melted) (32%)
- 105 g Coconut Oil (24%)
- 110 g Cold Distilled Water (25% Water as percent of oil weight)
- 62 g Sodium Hydroxide (Lye) (5% Super Fat/Lye Discount)
- 1 teaspoons Sodium Lactate (Optional) (helps soap to harden and release from mold sooner) (1 teaspoon Per Pound of Oils) If not available, dissolve 1/8 teaspoon salt per pound of hard (saturated) oils in distilled water. For this recipe use a scant 1/8 teaspoon.)
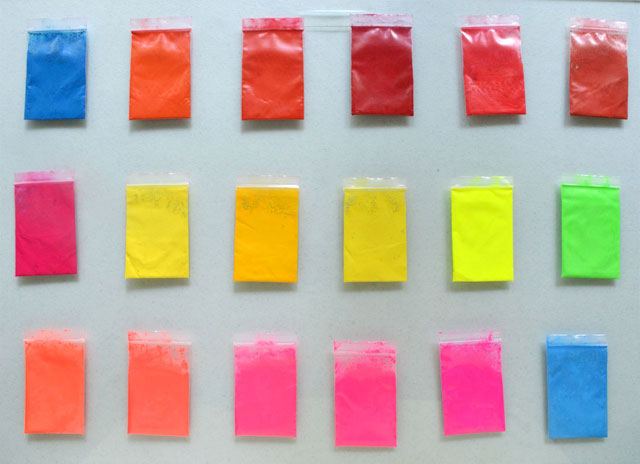
- 30 Colorants to Test
*We will be using metric measurements for more accuracy in this recipe. Also, you don’t have to use this recipe, but if you want to use the same measurements when pouring batter into cups, use the same amount of total oil weight, super fat and water percentages as above.
DIRECTIONS
Before starting this tutorial please make sure to read all instructions.
You should have a basic understanding of making cold process soap before you begin this tutorial.
It is always a good practice to put any new recipe through a soap calculator like the one found at http://soapcalc.net/calc/SoapCalcWP.asp.
Step 1 – Measure All Ingredients
Put on your long sleeves, long pants, shoes, safety goggles, and gloves. Work in a well ventilated area that is free from distractions.
To make the process go faster, measure all ingredients first. To cut down on dishes, measure cold water into the funnel pitcher and measure coconut oil into a different funnel pitcher. Measure sodium hydroxide last.
Step 2 – Make Lye Solution
Sprinkle approximately half of the sodium hydroxide into the cold water, stir gently to avoid splashing. Make sure to avoid breathing any fumes. Repeat, and stir until mixture is dissolved. (Always add lye to water and not the other way around because of the potential lye volcano. Just remember, “Snow falls on the lake.”) Set aside in a safe place to cool.
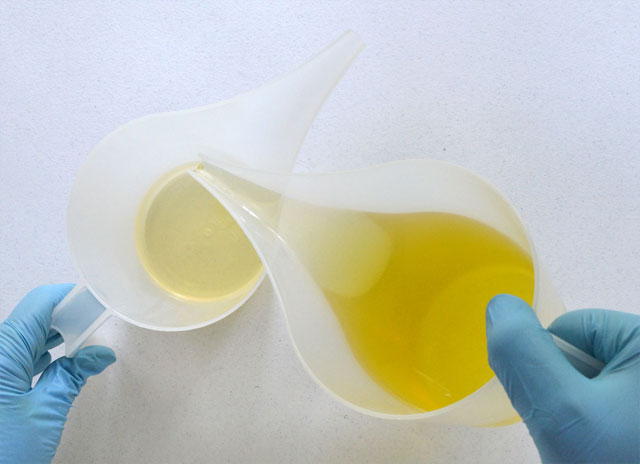
Step 3 – Make Oil Solution
Melt coconut oil in 30 second bursts until completely melted.
Next, add the melted palm oil and olive oil, pouring down the side to avoid introducing air bubbles. If the mixture doesn’t appear clear, microwave in 30 second bursts until completely clear and set aside to cool.
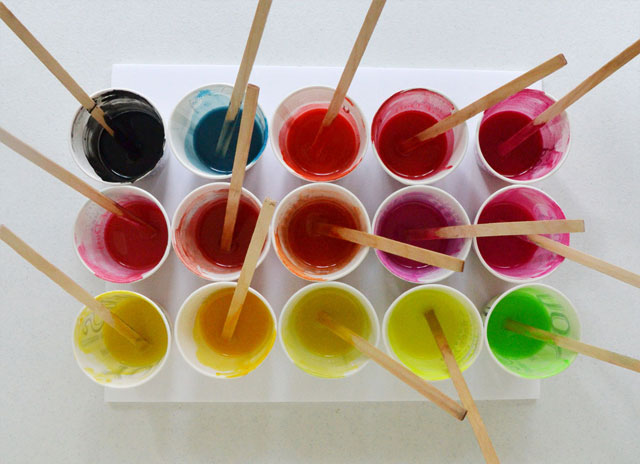
Step 4 – Prepare Colorants
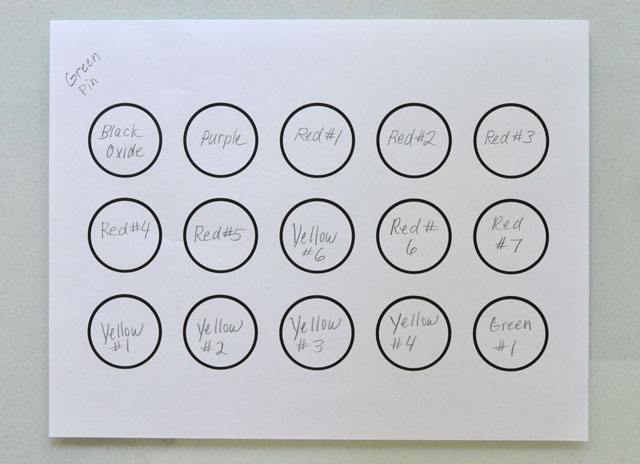
Decide a layout of the colorants you are going to test.
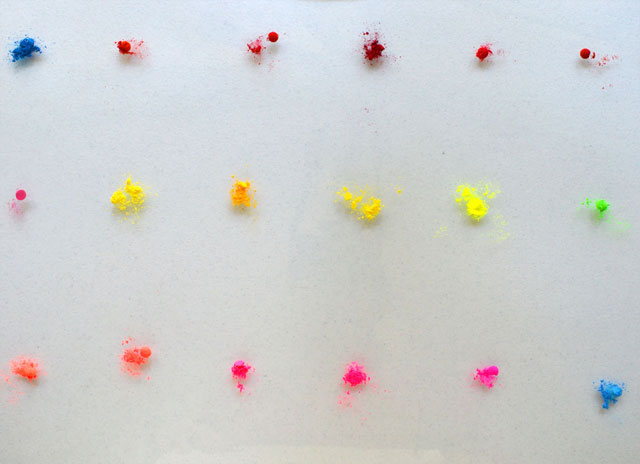
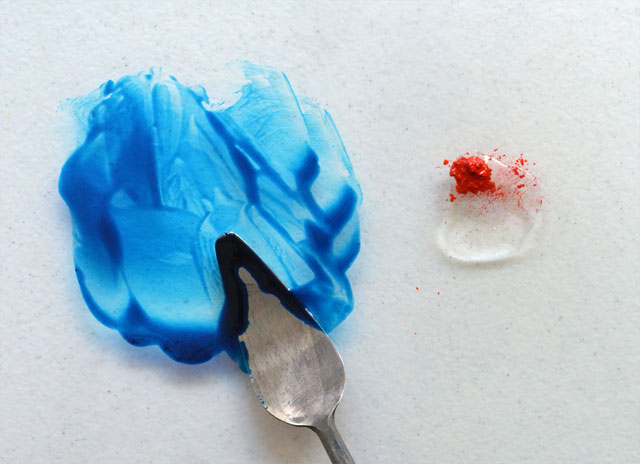
Measure .15 cc of each colorant onto a glass, or Plexiglas sheet.
Add a small amount of olive oil to each pile of colorant.
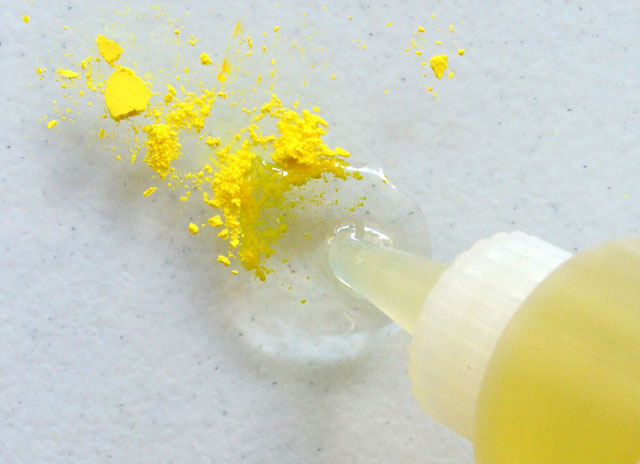
Using a palette knife, mix each colorant until entirely incorporated.
Label each cup, if you are using them as molds.
If using a silicone mold, make a map of which colorants you are using where.
Step 5 – Make Soap
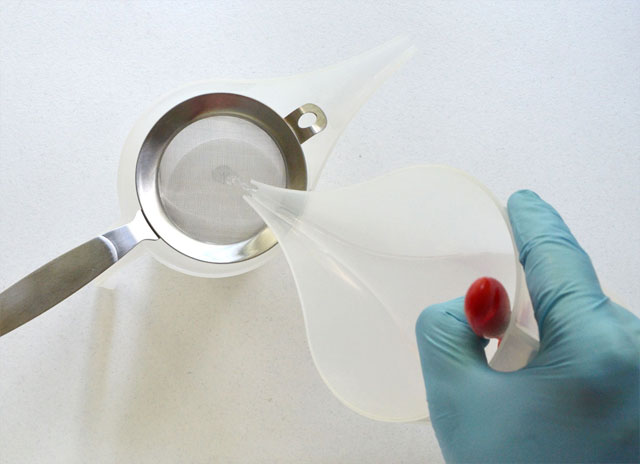
When the temperatures of the lye solution and the oil solution are within 85°- 95° F, carefully (with safety gear still on) add sodium lactate to lye water and strain into the other funnel pitcher. Use paper towels to wipe strainer and empty pitcher, then dispose of paper towels.
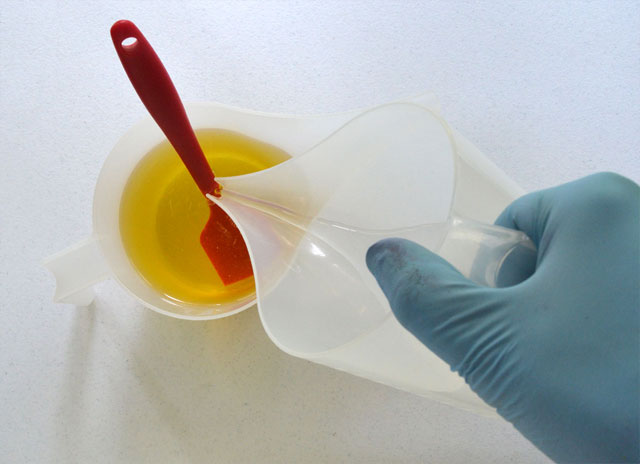
Next, pour the strained lye solution into the oils, pouring down the side of the container or a spatula to avoid adding air bubbles to the mixture.
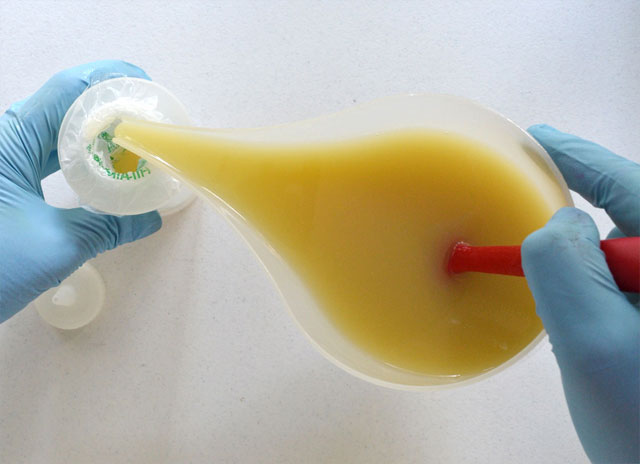
Next, stick blend until an emulsion or very light trace is reached. (Look at the end of your stick blender; at this stage there needs to be a thin film of batter that stays on it and does not break apart.
Step 6 – Pour Batter
If you want to gel your soap, which is recommended if you normally gel your soap, now is a good time to turn on your heating pad.
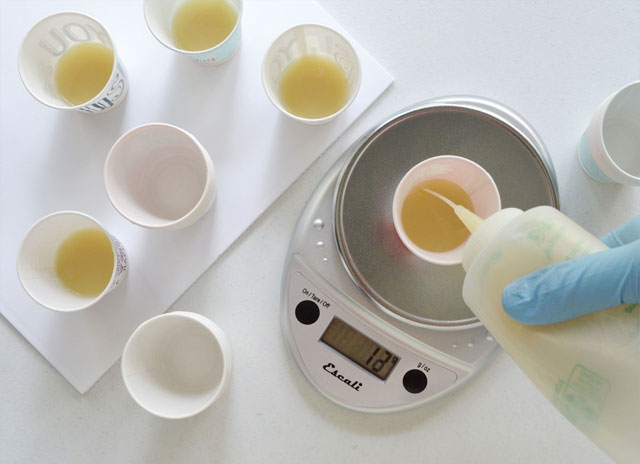
In order to speed things up, pour batter into a lined squeeze bottle. (You can use the pitcher to pour from as well, if you don’t have a squeeze bottle.)
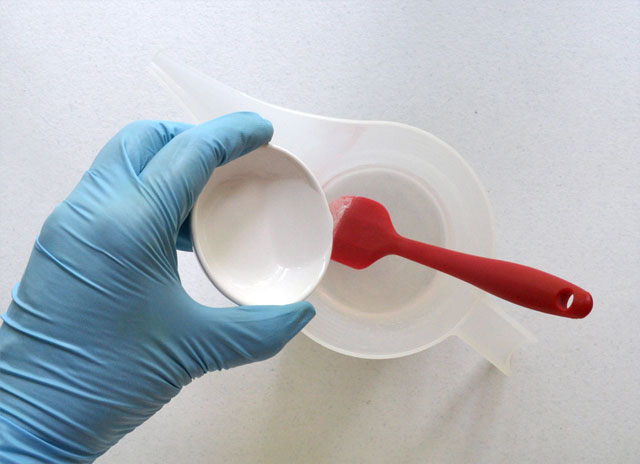
Pour 20 grams of batter into each cup.
Add colorant mixtures into proper cups and mix well. Make a special effort to mix the bottom of the cup, especially if you are using the cup as your mold, and set on tray.
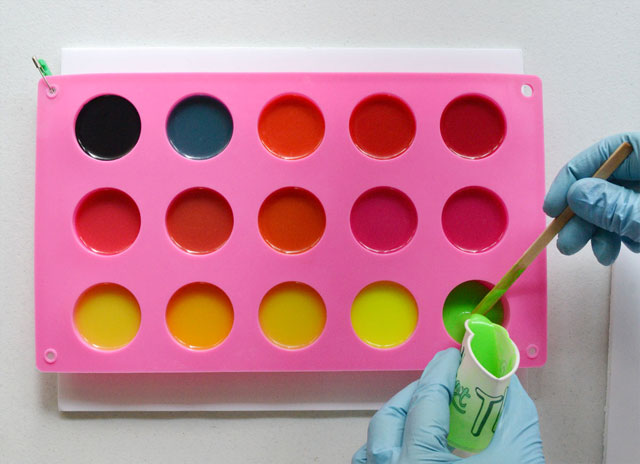
If using a silicone mold, place mold on a tray and pour mixed batter into proper cavities.
Step 7 – Put Through Gel*(Only gel test colors if you normally gel your soap.)
Set your mold or cups with tray on top of the heating pad. Then, cover with a box. Next, insulate with blankets/towels. Set your timer for 20 minutes. When the timer rings, slide your hand up under the box and feel the air. If the air is warm, turn off the heating pad. If it’s not warm, keep repeating in 20 minute increments until the air in the box feels warm, then turn off the heating pad. At this point, make sure the mold is snug and keep it covered for at least 48 hours. (The sooner the soap is exposed to air, the more likely it is to develop soda ash.) Ambient temperature matters as well. If your home is warm, you probably won’t need the heating pad.
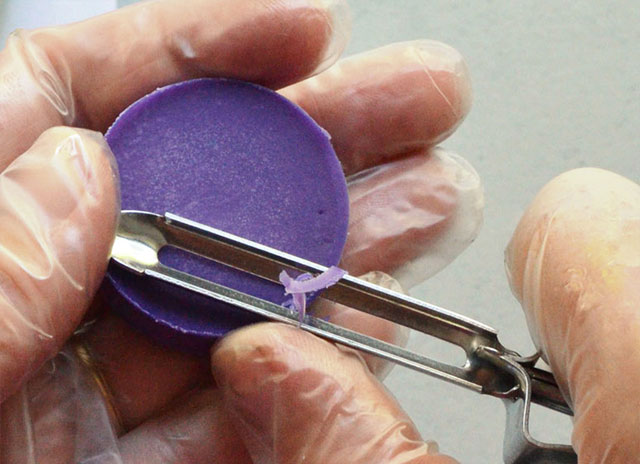
Step 8 – Unmold and Mark Soap
If the soap releases from the mold easily without sticking to the sides, it’s ready to unmold. If not, cover and let it sit until it’s ready. (It doesn’t pay to rush unmolding.)
Remove and mark one soap at a time or place removed soaps on color map (as in step 4) so as not to confuse the name of similar colorants. We used the color map technique so we could let the soap harden up for a few days for easier marking.
Use a vegetable peeler to level sides if desired.
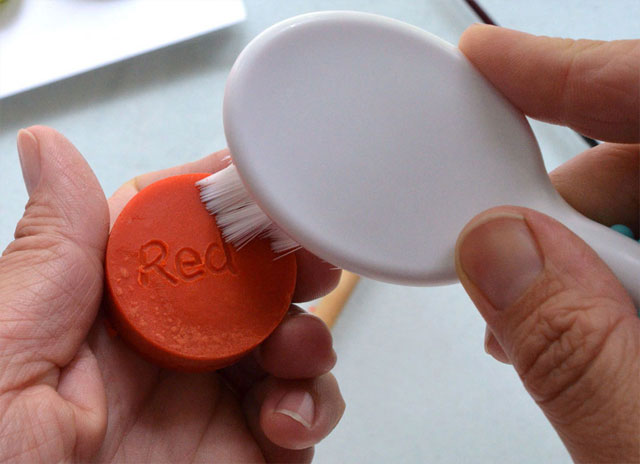
Mark colorant name into the back side of the soap.

Use a soft bristled brush to clean the surface of the soap.
Now you can have predictable results without wasting colorant.
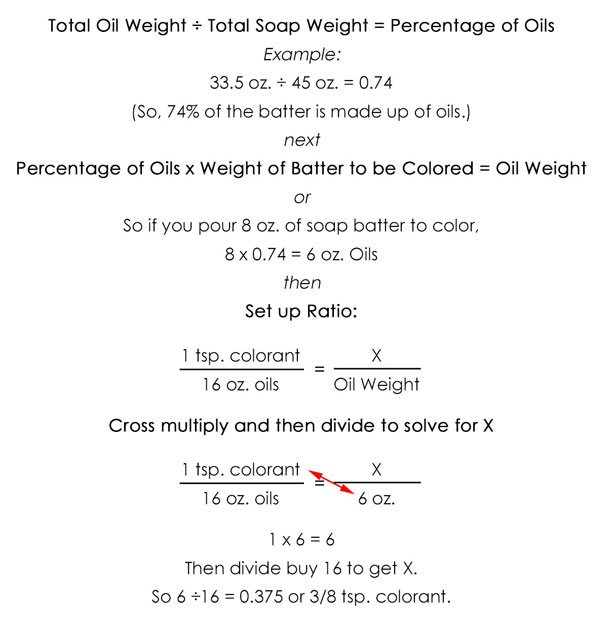
“So how much oils are in the amount of soap batter I just poured,” you ask? We may go into more detail of figuring per pound of oils (PPO) at some point, but here is an overview.
Divide batch “Total Oil Weight” by your batch “Total Soap Weight” to get a percentage and multiplying that amount by the weight of batter you are going to use. Then set up a ratio of 1 tsp. colorant/16 oz. to ? tsp. colorant/amount of batter you are going to use. It looks like this.
Now the fun begins! Enjoy designing soap with your new color samples!
USE OUR COLORANT CALCULATOR!
- Click here to watch the Tutorial
- Click here to use the Calculator
SHARE ON SOCIAL MEDIA
![]()
![]() Share this tutorial on Facebook
Share this tutorial on Facebook![]()
![]() Tweet about this tutorial
Tweet about this tutorial


