
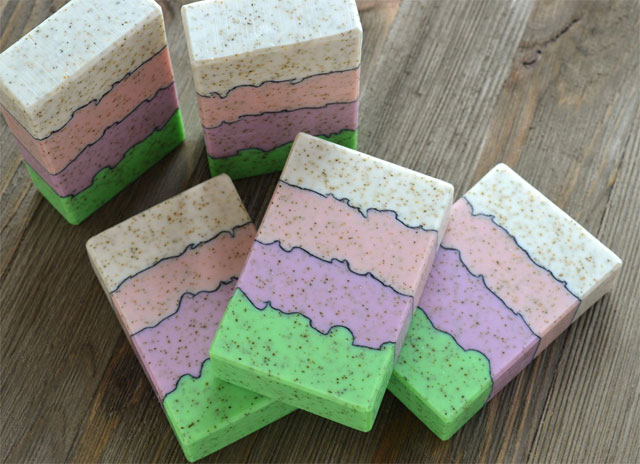
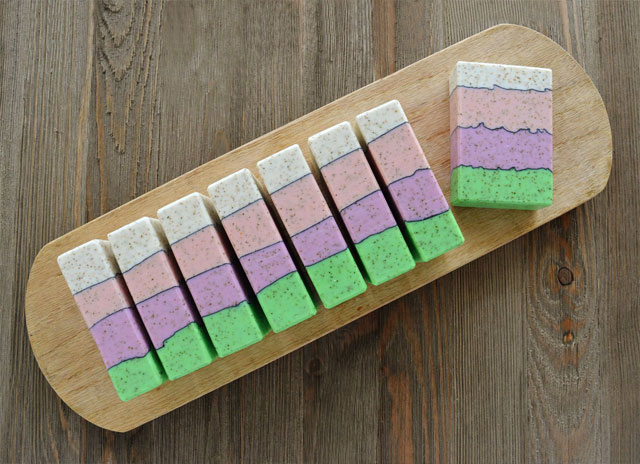
How to Make Pastel Peaks Cold Process Soap
This recipe uses peppermint leaves for a rustic look. It is important to grind them in a blender and sift through a fine mesh strainer. When using botanicals in soap, remember they swell a bit, so the finer the better. Other dried botanicals/exfoliants can be used in this recipe, such as ground coffee, lavender, or oatmeal, but all should be ground and sifted for best results. Also remember that all botanicals added to soap will turn brown.
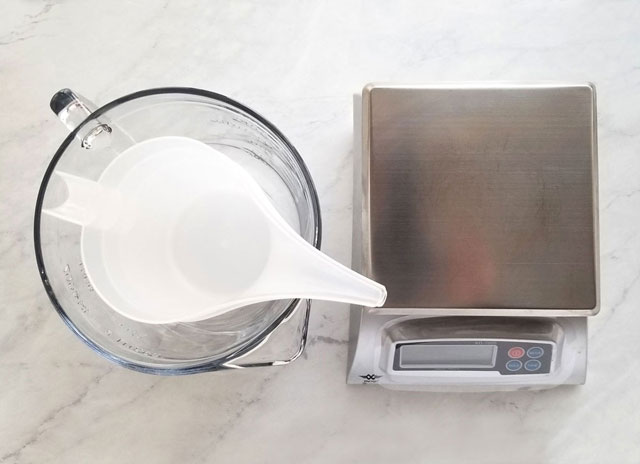
For this recipe we will be splitting the oil mixture and the lye mixture by four, therefore it is important to weigh your container that you are using for your oils before you begin. (We will need to subtract that off later.) Record that amount. (We work with grams because it is more accurate.) It is not necessary to weigh the lye/water container if you are straining the lye/water into another container. Just zero the scale after setting the new container on the scale, before adding the strainer and the lye/water.
INFORMATION
- Difficulty: Intermediate
- Yield: 8 Bars
TIMING
- Prep Time / Clean Up: 45 Minutes
- Perform Time: 2 Hours
- Total Time: 2 Hours, 45 Minutes (longer if putting through gel, which is recommended)
- Cure Time: 4-6 Weeks
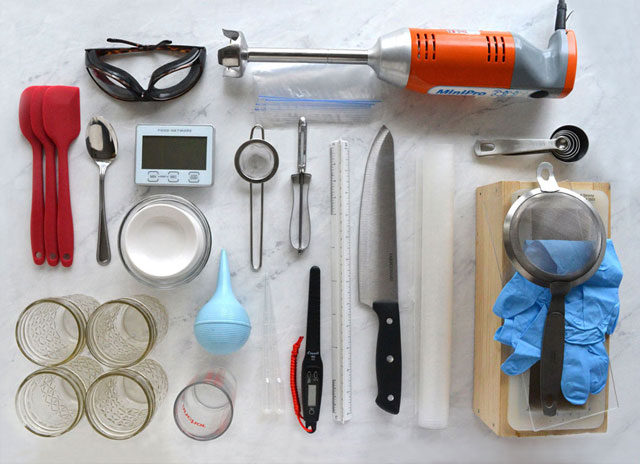
SUPPLIES
- Goggles
- Extra Long Disposable Nitrile Gloves (easily found in dishwashing section at local supermarket)
- Digital Scale
- Digital Thermometer or Infrared Thermometer
- Stick Blender
- 1 x 2 Quart Glass Mixing Bowl or Microwavable Plastic Bowl
- 5 x Funnel Pitchers (or other similar containers)
- Small Containers (for holding ingredients) (You will be splitting the cooled lye water, so you will need 4 containers for that. We used pint size jars. See supplies photo.)
- Spatulas / Scoops
- Wax Paper
- 5 x Zipper Bags (for mixing Colorants)
- Pipettes for Fragrance
- Bulb Syringe (as for babies, to blow off excess coconut carbon / activated charcoal)
- 2 x Fine Mesh Strainers (Stainless Steel)
- Paper Towels
- 8” Tall & Skinny Mold (If you don’t have an eight inch Tall & Skinny Mold, we have a tutorial showing how to make one. Click Here to view it.)
- Heating Pad (extra large is best) (Optional)
- Timer (Optional)
- Plexiglass (easily bought and cut at your local hardware store) (cut to fit top of mold) (Optional) or Cardboard
- Plastic Wrap (Optional)
- Ruler
- Towels/Blankets (Optional)
- Knife or Wire Soap Cutter
- Vegetable Peeler (Optional)
- Soap Planer (Optional)
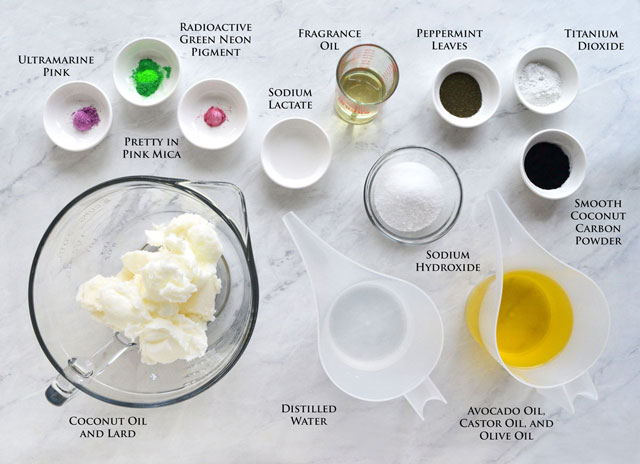
INGREDIENTS
- 6.5 oz / 184 g Cold Distilled Water (Water as a percent of oil weight: 25%)
- 3.6 oz / 103 g Sodium Hydroxide (Lye) (6% Super Fat/Lye discount)
- 1 tsp / 10 g Sodium Lactate 60% (Optional) (helps soap to harden and release from mold sooner) (1 teaspoon Per Pound of Oils (PPO)) If not available, dissolve 1/4 teaspoon salt per pound of hard (saturated) oils in distilled water and cool before adding lye. For this recipe use a heaping 1/8 teaspoon.)
- 6.5 oz / 184 g Coconut Oil (25%)
- 7.8 oz / 221 g Lard
- 1.3 oz / 37 g Avocado Oil (5%)
- 1.3 oz / 37 g Castor Oil (5%) (plus an additional amount to mix with colorants)
- 9.1 oz / 258 g Olive Oil (35%)
- 2.1 oz / 61 g Modern Muse Fragrance (6%)
- 1/16 tsp Neon Bright Green Powder (1/8 tsp PPO)
- 1/4 tsp Groovy Green Mica (1/2 tsp PPO)
- 1/2 tsp Ultramarine Pink (1 tsp PPO)
- 1/2 tsp Pretty in Pink Mica (1 tsp PPO)
- 1/2 tsp and 1.5 tsp Titanium Dioxide
- Around 1 tsp Smooth Coconut Carbon
- 1 tsp Peppermint Leaves (1/2 tsp PPO) (ground and sifted through a fine mesh strainer)
DIRECTIONS
Before starting this tutorial please make sure to read all instructions.
You should have a basic understanding of making cold process soap before you begin this tutorial.
It is always a good practice to put any new recipe through a soap calculator like the one found at http://soapcalc.net/calc/SoapCalcWP.asp.
Step 1 – Gear up for Safety
Put on your long sleeves, long pants, shoes, safety goggles, and gloves. Work in a well ventilated area that is free from distractions.
Step 2 – Measure Ingredients
Measure cold distilled water into funnel pitcher.
Measure coconut oil and lard into the 2 quart container.
Carefully measure avocado oil, castor oil, and olive oil into one funnel pitcher.
Measure these amounts into individual zipper bags (try not to get the colorant into the corners of the bags), then add the amount of castor oil in parenthesis:
- 1/2 tsp Pretty in Pink Mica (around 1-1/2 tsp castor oil)
- 1/2 tsp Ultramarine Pink Pigment (around 1-1/2 tsp castor oil)
- 1/16 tsp Radioactive Green Neon Pigment and 1/4 tsp Groovy Green Mica (around 3/4 tsp castor oil)
- 1/2 tsp Titanium Dioxide (around 1.5 Tbsp castor oil)
- 1.5 tsp Titanium Dioxide (around 2 Tbsp castor oil)
Next, measure remaining ingredients into separate containers, measuring the sodium hydroxide (lye) last.
Step 3 – Make Lye Solution
Gently add the sodium hydroxide to the cold distilled water, stir gently to avoid splashing. Make sure to avoid breathing any fumes. Stir until mixture is dissolved. (Please note that when lye is added to the water it will heat up very quickly. For this reason, never use a glass container for mixing your lye and water, and always add lye to water and not the other way around because of the potential lye volcano. Just remember, “Snow falls on the lake.”)
Set aside in a safe place that is well ventilated to cool with your measured sodium lactate.
Step 4 – Make Oil Solution
Melt measured coconut oil and lard in microwave in 30 second bursts until mostly melted. Stir to completely melt. Microwave again if necessary.
Then add measured avocado oil, castor oil, and olive oil to the melted coconut oil and lard. Add fragrance. Stir until mixture is completely clear. Microwave again if necessary.
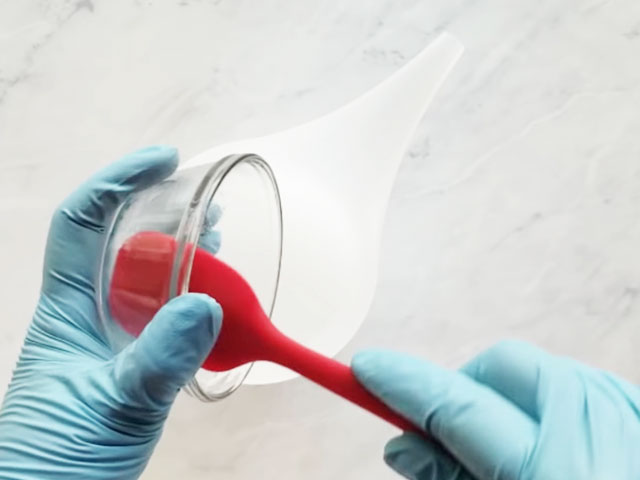
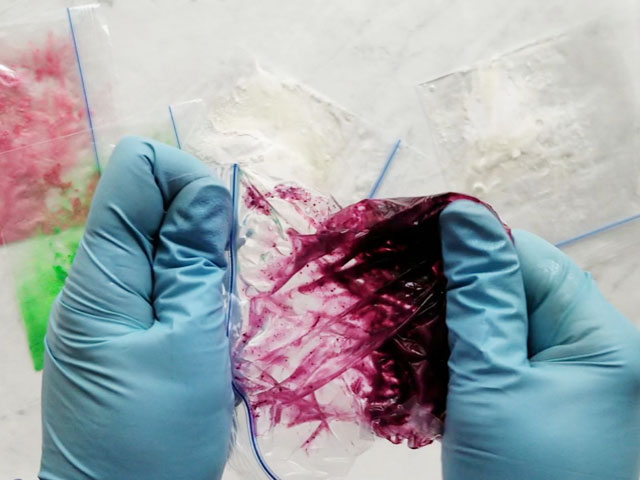
Step 5 – Prepare Colorants
Mix bags of colorants with hands until all the colorant is completely dispersed and no clumps remain. Pay special attention to the titanium dioxide and ultramarine pink as these are harder to incorporate.
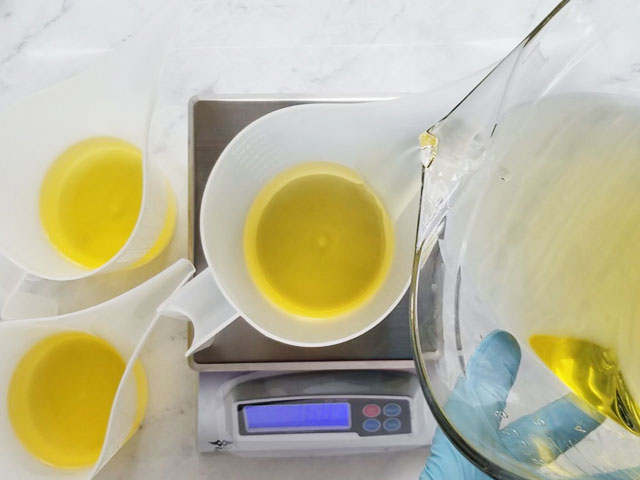
Step 6 – Weigh and Divide Ingredients
Weigh oil solution and subtract the weight of your container. Divide this amount by 4 and record the amount. Measure this amount into 4 funnel pitchers.
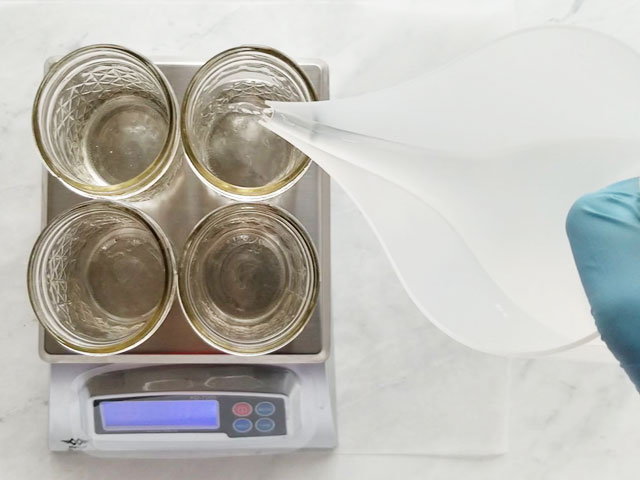
Add the sodium lactate to the cooled lye solution. Stir. Set a funnel pitcher on the scale and zero scale. Add fine mesh strainer and strain lye solution into pitcher. Remove strainer divide this amount by 4 and record amount. Next, set your 4 containers on the scale and zero scale. Measure the recorded amount into each container, zeroing scale after each pour.
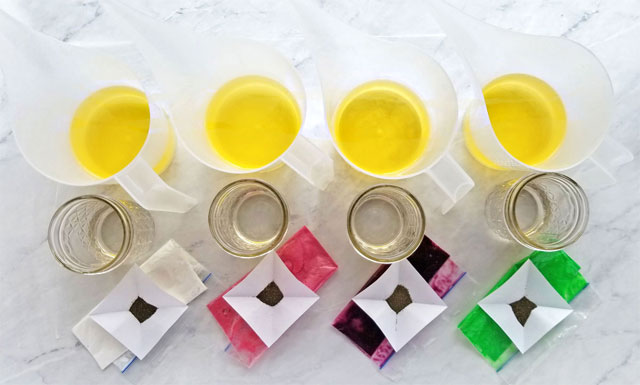
Arrange your measured ingredients as shown below with an oil solution, a lye solution, a colorant (Use the smaller amount of white.), and a ¼ teaspoon of ground peppermint.
Step 7 – Make Soap and Pour Soap
If you want to gel your soap, which is recommended, now is a good time to turn on your heating pad (on medium).
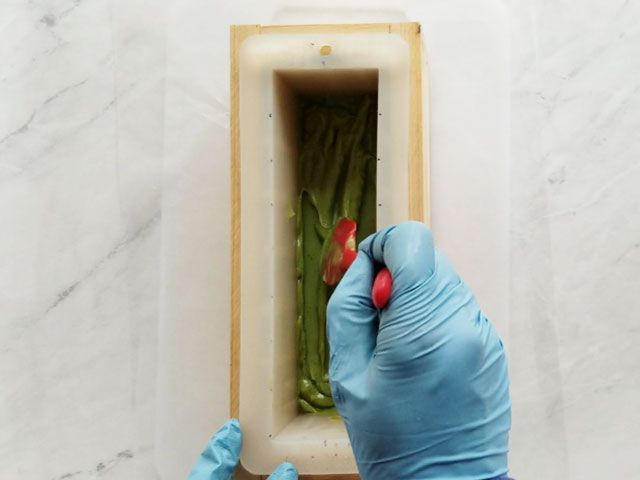
Add a fourth of the larger bag of white to each of the oil solutions. Next, add one of the bags of colorant and ¼ tsp ground peppermint leaves to each of the oil solutions. Stir to combine. Next, add the measured lye solution to the green oils. Stir to combine. Before turning it on, insert stick blender at an angle to the bottom and shake it a bit to release any trapped air. Then, pulse and blend until it is the consistency of runny pudding. (Take it slow. Also note that the green color morphs to a different shade of green. Don’t worry, it will come back to brighter green by the time you unmold it.) At this point the mixture is still pourable. Pour into the mold. Bang the mold on the table to release any trapped air. Use a spatula to make a bumpy surface. If the batter isn’t thick enough to hold the bumps, cover and try again in a few minutes.
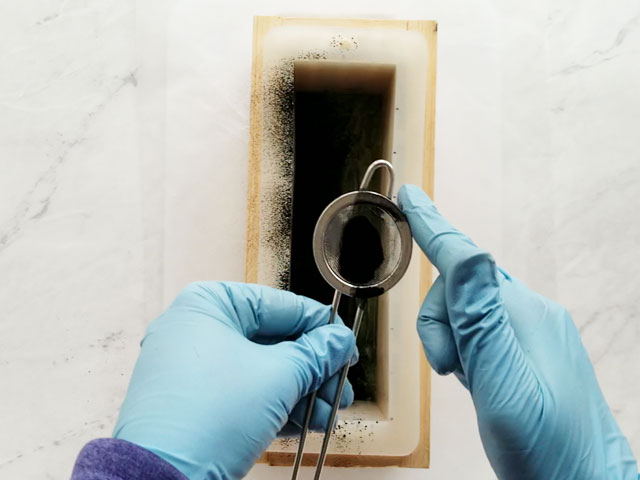
Once bumps are made, use a fine mesh strainer and carefully sift coconut carbon. Cover batter surface with a thin layer.
Blow off the excess with a bulb syringe. If there are spots that remain uncovered, repeat sifting process to cover the whole surface.
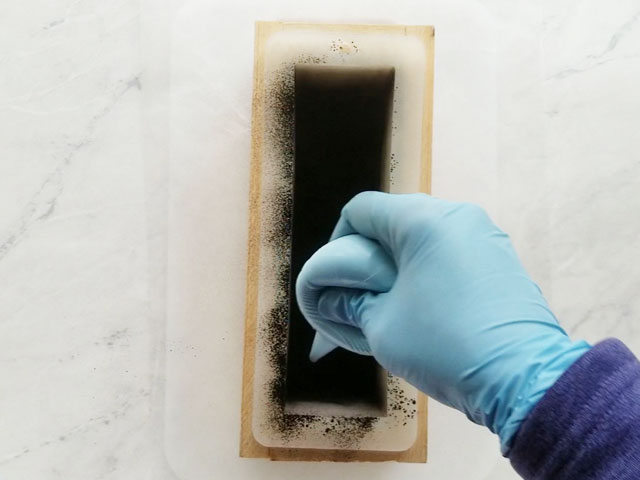
Clean up any batter on the sides of the mold and cover mold. (The sides will get messy. Just make sure to get off the excess batter, it is thicker to plane off than the coconut carbon.)
Then, repeat this entire step with the remaining colors.
Step 8 – Put Through Gel*
Next, set your mold on top of the heating pad. Then, cover it with plexiglass/cardboard and then cover and seal with plastic wrap. Next, insulate with blankets/towels. Set your timer for 30 minutes. When the timer rings, slide your hand up under the towels and feel the air. If the air is warm, turn off the heating pad. If it’s not warm, keep repeating in 30 minute increments until the air under the towels feels warm, then turn off the heating pad. At this point, make sure the mold is snug and keep it covered for at least 48 hours. The sooner the soap is exposed to air, the more likely it is to develop soda ash (a white film on the surface of the soap). Ambient temperature matters as well. If your home is warm, you probably won’t need the heating pad.
*You don’t have to put your soap through gel; you will get soap no matter if it goes through gel or not. This soap is made with a lower percentage of water to prevent glycerin rivers. With less water, soap goes through the gel phase faster, often causing partial gel. That’s why it often needs to be forced through gel. Other benefits of forcing soap through gel are that it releases from the mold easier, it is harder, it cures faster & lasts longer, the colors are often more brilliant, and it avoids partial gel.
Step 9 – Unmold and Cut Soap
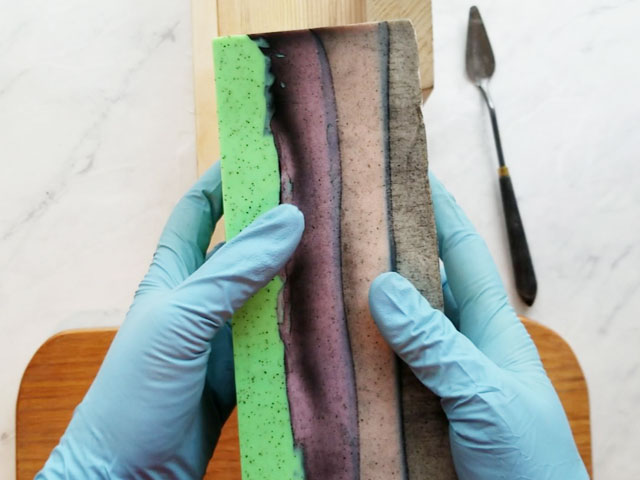
After 48 hours, if the soap releases from the mold easily without sticking to the sides, it’s ready to unmold. If not, cover and let it sit until it’s ready. (It doesn’t pay to rush unmolding.)
When the soap is unmolded, it will look rather messy. It just needs to be planed off. If you don’t have a planer, just use a vegetable peeler to clean up sides after the cut.
Bevel all four long edges of the soap loaf.
Mark your soap and cut it into 8 pieces.
Bevel remaining edges if desired.
Finally, allow them to cure for 4-6 weeks in a well ventilated area and Enjoy!
SHARE ON SOCIAL MEDIA
![]()
![]() Share this tutorial on Facebook
Share this tutorial on Facebook![]()
![]() Tweet about this tutorial
Tweet about this tutorial


