
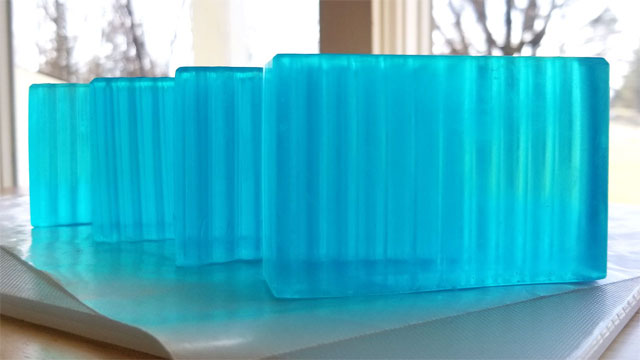
How to Make Melt & Pour Soap
INFORMATION
- Difficulty: Beginner
- Yield: 4 Bars
TIMING
- Prep Time / Clean Up: 20 Minutes
- Perform Time: 40 Minutes
- Total Time: 1 Hour
SUPPLIES
- Digital Scale
- Cutting Board (dedicated to soapmaking)
- Wax Paper (to cover cutting board and aid you in transferring the cut pieces to the funnel pitcher)
- Funnel Pitcher
- Spatula and/or Chopstick (for stirring)
- Pipettes
- Paper Towels
- 4” Small Square Silicone Soap Mold or any other Mold of Your Choice to hold a total of 21 oz
- Plastic Wrap
- Knife / Crinkle Cutter
- Vegetable Peeler (one that is dedicated to soap, for beveling edges of soap if desired) (Optional)
- Disposable Gloves (easily found in first-aid section at local supercenter)
- Isopropyl Alcohol in a spray bottle (highest percentage you can find, 91% was used for this tutorial) (easily found in first-aid section at local pharmacy or supercenter) Elements Bath and Body carries a variety of and Mist Sprayer Lids

INGREDIENTS
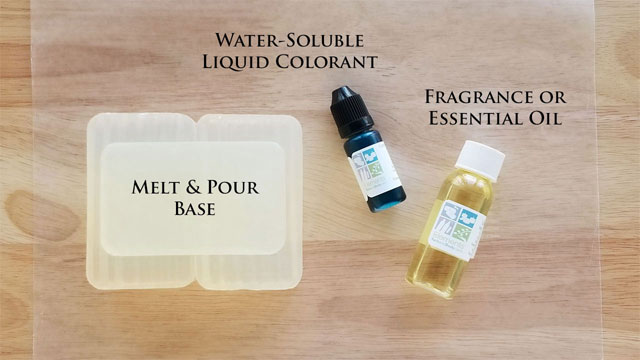
- 21 oz / 595 g Melt & Pour Soap Base of Your Choice – We used Clear Melt & Pour Soap Base for this recipe.
- 0.4 oz / 11 g Fragrance Oil or Essential Oil – We used Salty Sea Air Fragrance Oil for this recipe.
(1-3% of base, for this tutorial 2% was used) - Water-Soluble Liquid Colorant – We used Crystal Blue Liquid Colorant for this recipe.
(see “Additional Information” section at the bottom of this tutorial for more information on coloring Melt & Pour Soap)
DIRECTIONS
Below you will find more in depth information about melt & pour soap but we would encourage you to try this simple version just to get your feet wet. It’s super easy for both adults and kids and very safe because there is no lye. No cure time is needed and as soon as the soap hardens, it’s ready to use.
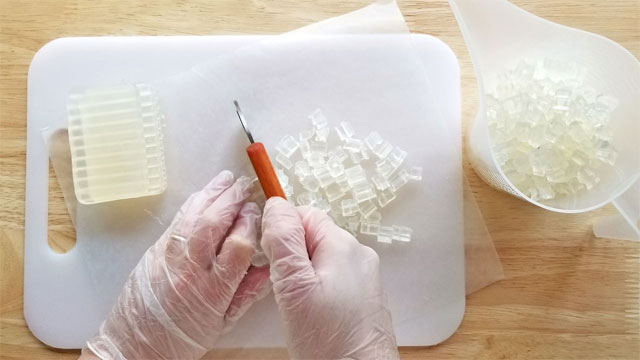
Step 1 – Prepare & Melt Base
Cut soap base into roughly half inch pieces. Microwave for 30 seconds at a time. Stir in between each 30 second interval. When base is nearly melted, microwave for only 10 seconds at a time until just barely melted.
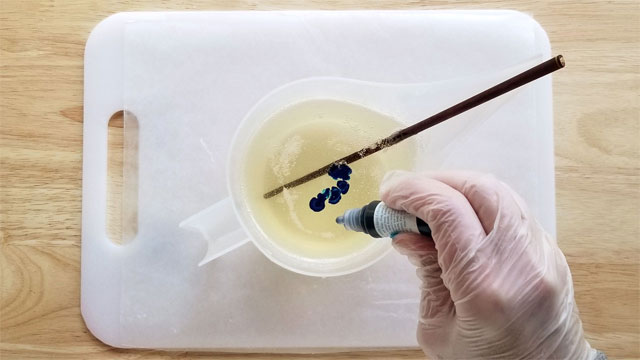
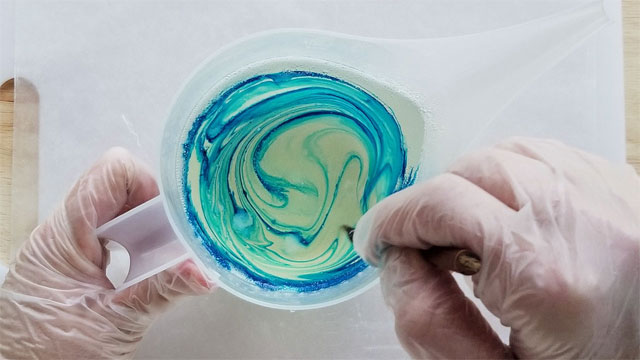
Step 2 – Add Fragrance and Colorant
Add Fragrance and/or Essential Oil and the desired amount of Liquid Colorant. (8 drops of Crystal Blue Water-Soluble Liquid Colorant was used for this tutorial.) Stir to fully incorporate. Microwave again for 10 second intervals if needed.
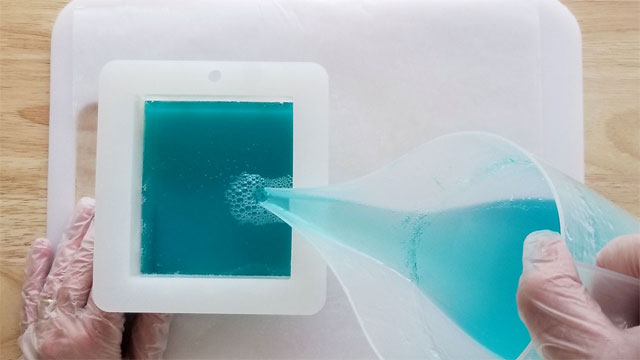
Step 3 – Finishing Soap
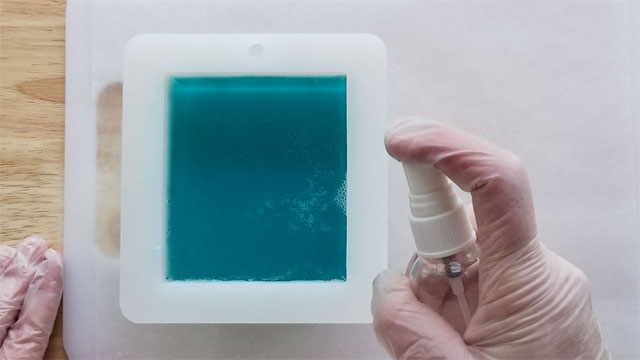
Pour into mold of your choice and spray the top with rubbing alcohol to get rid of excess bubbles.
Now, the hard part… waiting for it to harden.
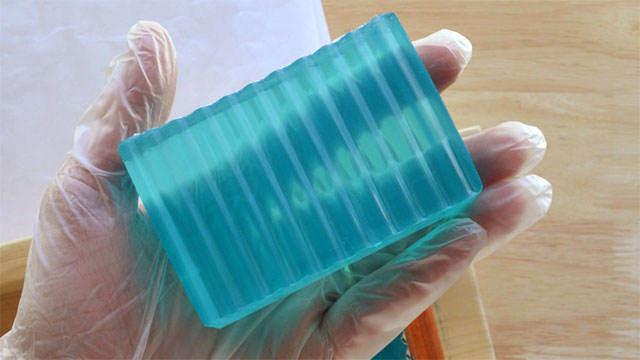
Soap which is allowed to remain in the mold for 12-24 hours after cooling releases much more easily than unmolding immediately after cooling. Once hardened, pop it out of the mold. For silicone loaf molds you just need to break the airlock to get it out. If you have trouble getting it out try placing the soap filled molds in the freezer for an hour or so. This is usually not necessary.
Cut into 4 bars with knife or crinkle cutter.
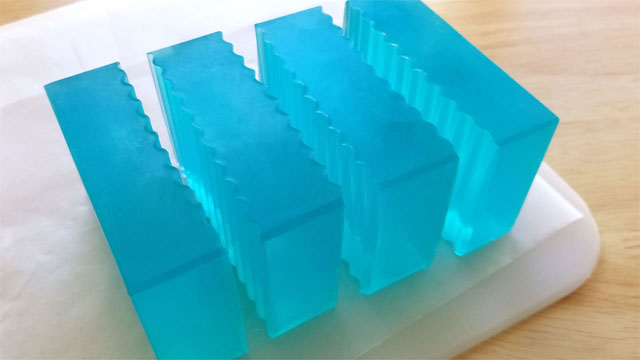
If you live in a humid environment your soap may sweat. For this reason wrap your finished bars with plastic wrap until ready to use. Your soap is ready to use immediately though. No cure time is necessary, so enjoy the fruits of your labor!
ADDITIONAL INFORMATION
Cleaning Up: Try to wipe up any spills as you go. For any soap that has solidified, use a plastic spatula to scrape it from surfaces. For any pouring pitcher, let soap solidify in the pitcher and then you can usually peel it out in one piece. For and remaining soap on containers and utensils, just soak them in water for 1-2 hours and then wash in warm soapy water.
Heating Base: When melting your melt & pour soap base, it is important to keep temperature relatively low or the soap base can scorch. You can do this by microwaving for 30 second intervals and stir in between. Toward the end of melting, use 10 second intervals. If using other methods of heating like a double boiler, stir and monitor often.
Temperature: This melt & pour soap base starts to solidify at a temperature of 130° F so a good temperature for pouring layers is just above 130° F. The pouring temperature only has to be that low when pouring on top of another layer or when embeds are present, so as not to melt the other soap.
Stirring: When melting the soap base, try not to introduce air bubbles. Only gently stir. The best tool for this is a chopstick. A spatula will work fine, but a lot of the melted soap tends to solidify on it, causing frustration and waste.
Adding Embeds or Exfoliants: Exfoliants, embeds, soap curls, soap chunks, body safe glitter, and herbs need to be poured at a lower temperature or the exfoliants/herbs/glitter will not stay suspended or the embeds will melt if the base is too hot when poured on top. Also remember to spray soap embeds with alcohol right before you pour the remaining soap so the poured soap will adhere to the embeds.
Coloring: The easiest colorant to use is liquid colorant. When using more than one color, remember, liquid colorants bleed, so use colors that will look good when blended. You can use this to your advantage to get a gradient effect. Micas are also great for melt & pour soap. They give a shimmery effect. They can be added directly, but premixing works best. Mix a small amount with glycerin or isopropyl alcohol before adding to base. Neons, Oxides, and Ultramarines also can be used, but they must pre mixed with a bit of glycerin or alcohol since they clump much easier than micas.
Spraying Isopropyl Alcohol: Spraying isopropyl alcohol is done for many reasons. The first is to pop air bubbles. This is done sometimes after stirring your melted base as you see fit and always immediately after pouring each layer. The top of the poured soap gets a skin on it pretty quickly. That is why it is important to quickly pop the bubbles. Don’t worry about getting the entire base out of the pitcher, just pour until it stops and quickly spray. The next reason is to help incorporate colorant. Another reason to use isopropyl alcohol is to make layers adhere to one another, so spray previous layer well before pouring the next layer.
Pouring: When pouring on top of another set layer, do not pour in one spot. Move the pouring spout as you are pouring to avoid breaking through the previous layer.
Timing on Pouring Layers: Once you have poured and sprayed a layer, set the timer for 25 minutes. (If the ambient temperature is warm you may need to wait longer than that. The molded layer must be able to support the next layer, but it should still be warm. To test, with a gloved hand, gently press the poured layer in the center. Does is feel thick enough to support a warm layer of soap?
Cutting: Don’t cut until the next day and choose a knife that is not too thick when cutting layers; it works best to cut layered soap on its side rather than cutting through the top of the loaf. Cutting through the top sometimes caused the layers to shift and separate.
Crumbly Soap: Soap can become dry or crumbly, especially in transit during cold months. This is easily rectified with the addition of up to 10% glycerin or water (5% is usually more than enough, though).
If you are BRAND NEW TO SOAPMAKING and would like to see another newbie on her first attempt at making Melt & Pour Soap using this tutorial, check out this video and learn a few tips to make your first time making M&P Soap a breeze! Click Here to view.
PDF DOWNLOAD FOR YOUR CONVENIENCE
SHARE ON SOCIAL MEDIA
![]()
![]() Share this tutorial on Facebook
Share this tutorial on Facebook![]()
![]() Tweet about this tutorial
Tweet about this tutorial


