
“I’ve tried many, many different bath bomb recipes and this is, hands down, the absolute BEST formula! I’ve made four batches and not a single bomb cracked, fell apart, or flattened on the bottom as it dried. They even float and spin when dropped in the tub! I just gave a bunch away to family and friends and they all love them. My mom said they’re the best bath bombs she’s ever used. Thank you!!!”
– Instagram follower @happybuddha42
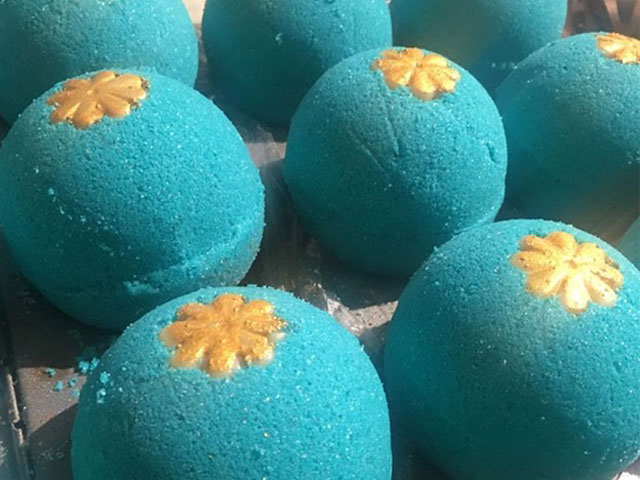
How to Make Bath Bombs from Scratch
If you want to formulate your own bath bomb recipe instead of using our Bath Bomb & Fizzy Base, the following formula is an excellent one to use. This recipe makes 9-10 large 3” bath bombs that are hard enough to ship cross country.
Tip: If you want to use less fragrance oil, add an equal amount of carrier oil to make up the difference. You may use any mold of your choice. Smaller molds will yield more bath bombs
INFORMATION
- Difficulty: Intermediate
- Yield: 9-10 Large (3″, about 8 oz each) Bath Bombs
TIMING
- Prep Time / Clean Up: 15 Minutes
- Perform Time: 25 Minutes
- Drying Time: 2 Hours
- Total Time: 2 Hours 40 Minutes, 40 Minutes Active Time
SUPPLIES
- Digital Scale
- Bath Bomb Mold of Your Choice
- 2 Large mixing bowls
- Spoon or spatula
- Microwaveable bowl, or 4-cup pyrex measuring cup
- Latex or nitrile gloves
- Muffin Pan
- Plastic Wrap
INGREDIENTS
- 45 oz / 1276 g Baking Soda (available at grocery or bulk discount stores)
- 20 oz / 567 g Citric Acid
- 6 oz / 170.1 g Epsom Salts (available at pharmacies)
- 1 oz / 28.3 g White Kaolin Clay
- 1 oz / 28.3 g Cream of Tartar (available from the grocery store. Try the bulk aisle for the best price.)
- 0.5 oz Sodium Lauryl Sulfoacetate (SLSA) (Optional)
- 1 oz / 28.3 g Cocoa Butter
- 2 oz / 56.7 g Shea Butter OR Mango Butter
- 1 oz / 28.3 g Apricot Kernel Oil, or other light carrier oil of your choice
- 1 oz / 28.3 g Polysorbate 80
- 2 oz / 56.7 g Fragrance Oil or Essential Oil
- 2 oz / 56.7 g 91% Isopropyl Alcohol (available from pharmacies) *
- 1 tsp / 5 mL Water-Soluble Liquid Colorant or tap water.
*Note: if using 99% Isopropyl Alcohol, add ½ tsp additional water or liquid colorant to your recipe. This product is sometimes available at pharmacies and is available online from Amazon.
DIRECTIONS
Before starting this tutorial please make sure to read all instructions. Use caution when handling melted oils. Do not weigh fragrance oils into plastic containers; use glass or stainless steel. Use gloves when mixing to keep your manicure from getting scratched. Also be sure to prep your muffin pan in advance. To do this, simply cover the muffin pan in plastic wrap. Don’t pull too tightly – you want the plastic wrap to be a little hammock for your bath bombs as they dry.
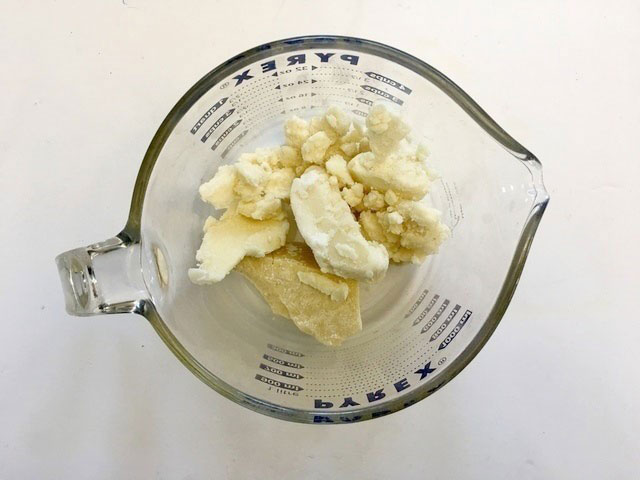
Step 1 – Melt Butters
Melt the cocoa butter and shea butter or mango butter in a microwaveable bowl or 4-cup Pyrex measuring cup for about 3 minutes on high power, or until melted, stirring midway through. Alternatively, melt the butter mixture in a double boiler on the stove top. Set aside to cool briefly.
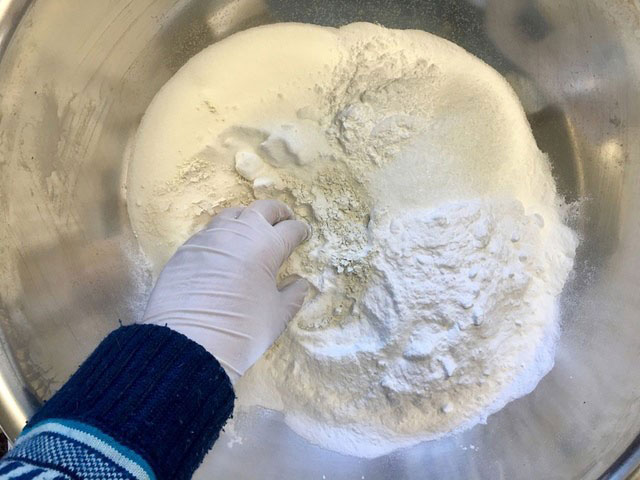
Step 2 – Combine Dry Ingredients
While your oils cool, combine the dry ingredients in a large mixing bowl. Break up any clumps using your fingers.
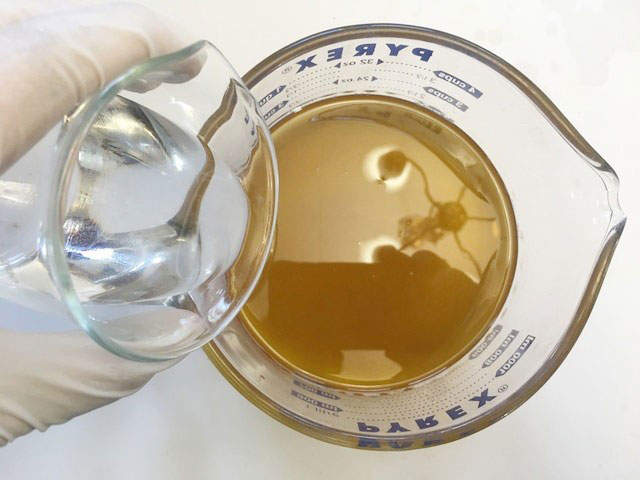
Step 3 – Combine Liquids
Add the sunflower oil, polysorbate 80, isopropyl alcohol, liquid colorant (or tap water) and the fragrance oil to the melted butters. Stir to combine.
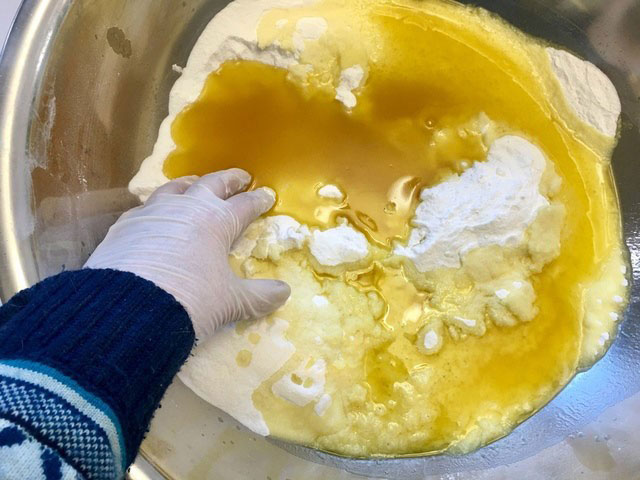
Step 4 – Combine All Ingredients
Pour the oil mixture over the dry ingredients. Mix with your hands to combine, breaking up any clumps.
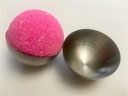
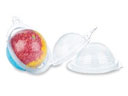
Step 5 – Mold
Click the links below for instructions on using the corresponding Bath Bomb Mold type of your choice:

Step 6 – Drying
Place the finished bath bombs on a lined muffin pan as you complete them to avoid losing the perfect circular shape.
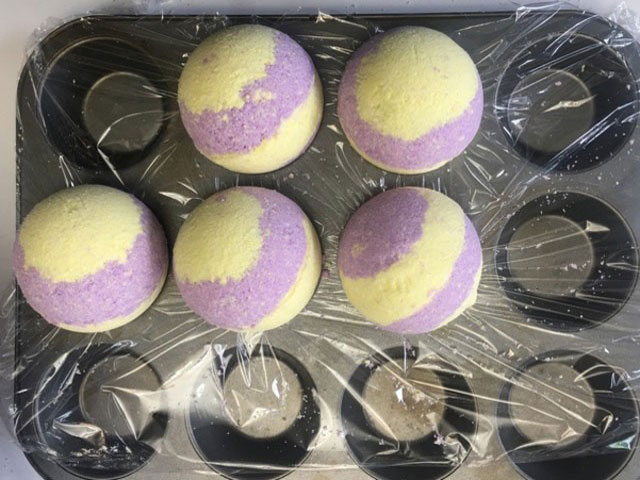
Allow to dry for two hours before moving. Allow to dry for 24 hours before using.
MORE BATH BOMB MAKING TIPS & INFO:
Click Here for tips on Drying Storing and Shipping your Bath Bombs
Click Here for tips on Formulating Perfect Bath Bombs
Click Here for help Troubleshooting Bath Bombs
PDF DOWNLOAD FOR YOUR CONVENIENCE
SHARE ON SOCIAL MEDIA
![]()
![]() Share this tutorial on Facebook
Share this tutorial on Facebook![]()
![]() Tweet about this tutorial
Tweet about this tutorial


