
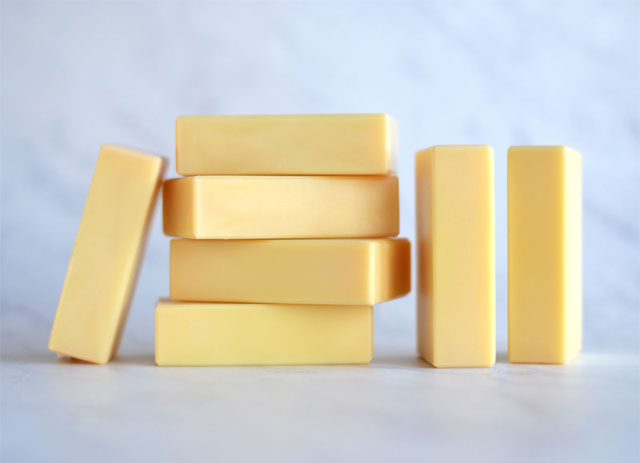
How to Make Basic Cold Process Soap
INFORMATION
- Difficulty: Intermediate
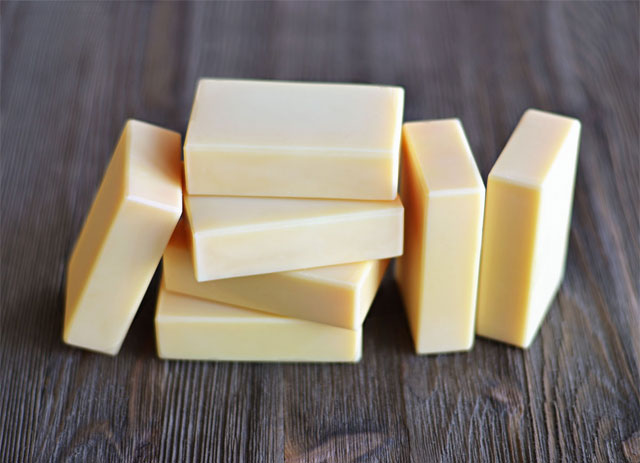
- Yield: 10 Bars
TIMING
- Prep Time / Clean Up: 30 Minutes
- Perform Time: 1 Hour 15 Minutes
- Total Time: 1 Hour 45 Minutes (longer if putting through gel, which is recommended)
- Cure Time: 4-6 Weeks
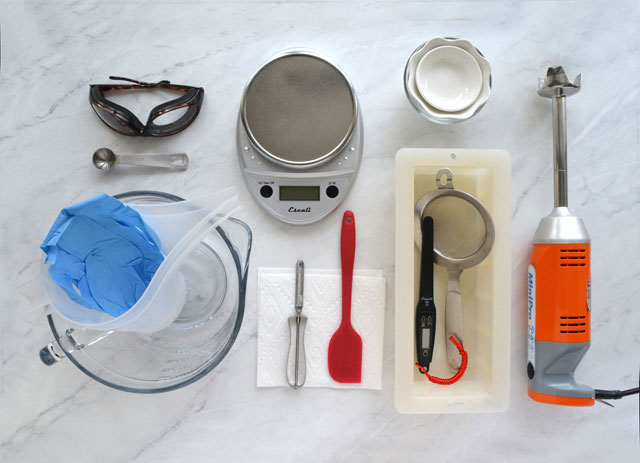
SUPPLIES
- Goggles
- Extra Long Disposable Nitrile Gloves (easily found in dishwashing section at local supermarket)
- Digital Scale
- Digital Thermometer or Infrared Thermometer
- Stick Blender
- 1 x 2 Quart Glass Mixing Bowl or Microwavable Plastic Bowl
- 2 x Funnel Pitchers
- Small Containers (for holding ingredients)
- 2 x Spatulas
- Pipettes (for Fragrance or Essential Oils)
- Measuring Spoons
- Fine Mesh Strainer (Stainless Steel)
- Paper Towels
- Pencil for Taking Notes
- 10” Silicone Loaf Mold
- Knife or Wire Soap Cutter
- Heating Pad (Optional)
- Timer (Optional)
- Plexiglas or Cardboard (cut to fit top of mold) (Optional)
- Plastic Wrap (Optional)
- Towels/Blankets (Optional)
- Vegetable Peeler (Optional)
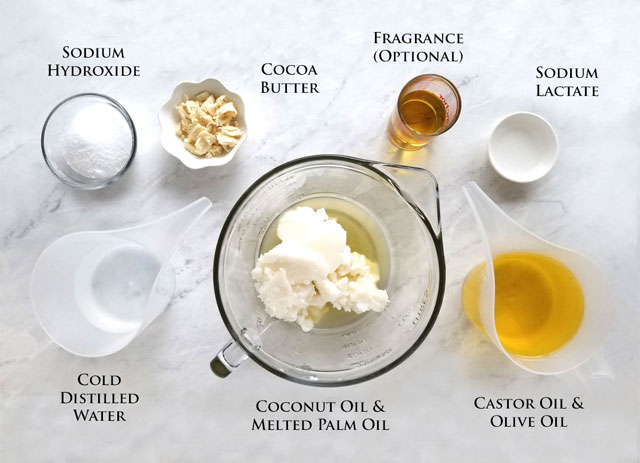
INGREDIENTS
- 9.8 oz / 276 g Cold Distilled Water (Water as a percent of oil weight: 30%)
- 4.6 oz / 129 g Sodium Hydroxide (Lye) (6% Super Fat/Lye discount)
- 2 tsp / 13 g Sodium Lactate 60% (Optional) (helps soap to harden and release from mold sooner) (1 tsp Per Pound of Oils (PPO)) If not available, dissolve 1/4 tsp salt per pound of hard (saturated) oils in distilled water and cool before adding lye. For this recipe use 1/4 tsp.)
- 8.1 oz / 230 g Palm Oil (25 %)
- 8.1 oz / 230 g Coconut Oil (25%)
- 0.8 oz / 23 g Cocoa Butter, cut into small pieces (2.5%)
- 0.8 oz / 23 g Castor Oil (2.5%)
- 14.6 oz / 415 g Olive Oil (45%)
- 2.6 oz / 73 g or Skin Safe Fragrance Oil or Essential Oil (Optional) (5.5%). To check if an essential oil amount is skin safe, this website is a valuable resource: https://www.eocalc.com/enter-your-own-blend/.
DIRECTIONS
Before starting this tutorial please make sure to read all instructions.
You should have a basic understanding of making cold process soap before you begin this tutorial. If you have never made cold process soap, please acquaint yourself with cold process soap making and specifically safety through books or YouTube videos from reputable source.
It is always a good practice to put any new recipe through a soap calculator like: http://soapcalc.net/calc/SoapCalcWP.asp.
Step 1 – Gear up for Safety
Put on your long sleeves, long pants, shoes, safety goggles, and gloves. Work in a well ventilated area that is free from distractions.
If at any time your skin comes in contact with lye or lye/water, flush with water for water for at least 15 minutes and seek medical help if necessary.
Step 2 – Make Lye Solution
Measure cold distilled water into funnel pitcher. In a separate container, measure sodium hydroxide. Sprinkle approximately half of the sodium hydroxide into the cold water, stir gently to avoid splashing. Make sure to avoid breathing any fumes. Repeat, and stir until mixture is dissolved. (Please note that when lye is added to the water it will heat up very quickly. For this reason, never use a glass container for mixing your lye and water, and always add lye to water and not the other way around because of the potential lye volcano. Just remember, “Snow falls on the lake.”)
Set aside in a safe place that is well ventilated to cool. Wipe down container that had lye in it with paper towel and dispose of in safe place. Also wipe down area and wash gloved hands after mixing lye.
Measure sodium lactate into small container and set aside near lye solution.
Step 3 – Make Oil Solution
Oils are made of different fatty acids and each of the acids melt and solidify at different rates. For this reason, it is necessary to completely melt the palm oil in its original container and stir/agitate before measuring.
Melt palm oil in microwave in 30 second bursts, agitating in between bursts. (Or, if you have an auto defrost function, set to shortest time.) Melt completely. It will look completely clear with no floating particles.
While melting palm oil, measure coconut oil in 2-Quart Glass Mixing Bowl or Microwavable Plastic Bowl.
Zero scale and carefully measure melted palm oil into the same bowl.
Melt in 30 second bursts until coconut oil is completely melted.
Next, measure cocoa butter into a separate container. Add cocoa butter to the melted coconut/palm oil. Stir to melt. If cocoa butter doesn’t melt completely, microwave in 30 second bursts and stir until completely melted.
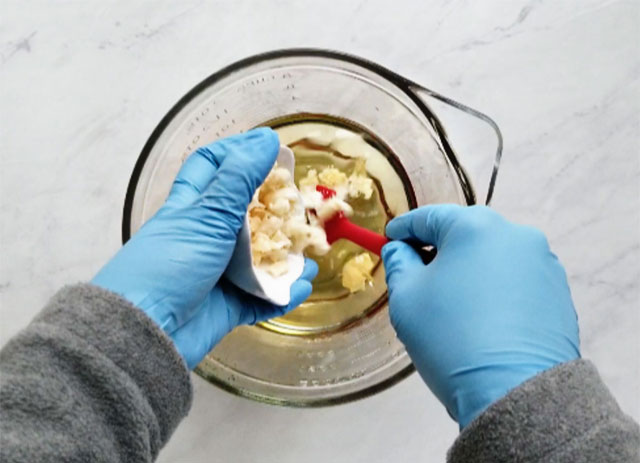
Then, measure castor oil into funnel pitcher, zero scale and carefully measure olive oil into same pitcher. Stir and add this mixture to other oils/butter, pouring down the side of the container or a spatula to avoid introducing bubbles to mixture. Stir until completely clear.
Next, add fragrance oil or essential oil and stir to incorporate. (Optional)
Step 4 – Make Soap
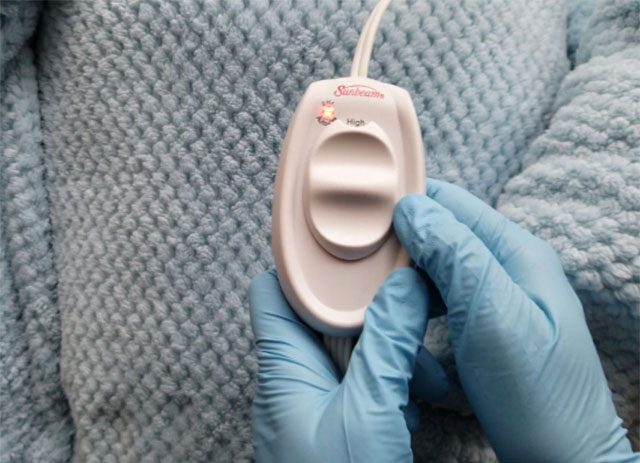
If you want to gel your soap, which is recommended, now is a good time to turn on your heating pad (on high). If you are not familiar with the gel stage, it happens when heat builds up in your poured batter. It usually starts from the center and works its way out to the edges. It sometimes only partially goes through this stage causing an oval ring to be revealed when the soap is cut. There is nothing wrong with the soap, aesthetically it is just not as pleasing. To avoid partial gel, we usually go ahead and force it all the way through the gel stage.
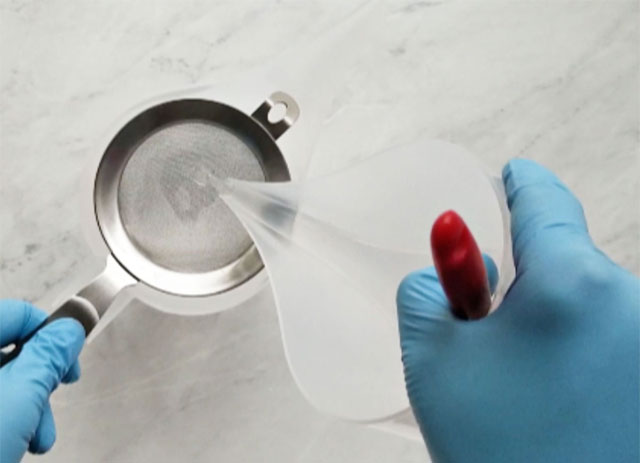
When the temperatures of the lye solution and the oil solution are within 85°- 95° F, carefully (with safety gear still on) add sodium lactate to the lye solution and strain solution into the other funnel pitcher. Use paper towels to wipe strainer and empty pitcher, then dispose of paper towels in a safe place.
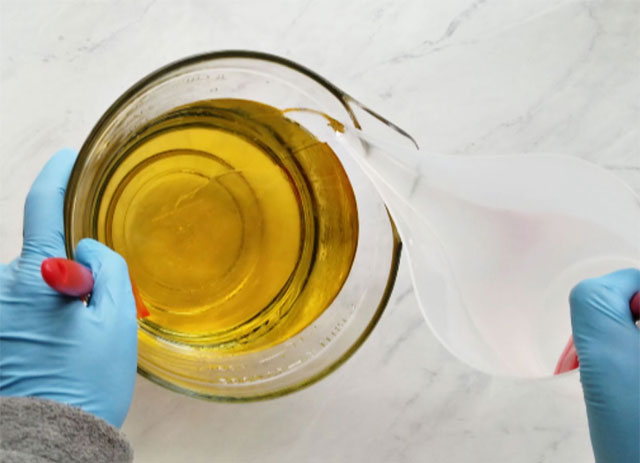
Next, pour the strained lye solution into the oils, pouring down the side of the container to avoid adding air bubbles to the mixture.
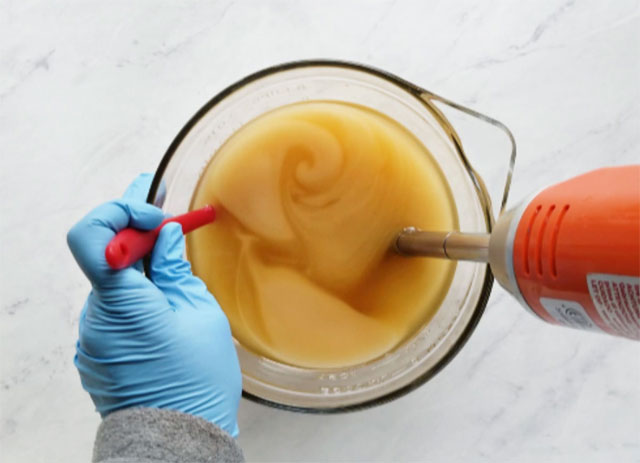
Before turning it on, insert stick blender at an angle to the bottom and shake it a bit to release any trapped air. Then, pulse and blend until it is the consistency of thin pudding. (At this point when you pull the stick blender out of the batter, a film of batter will stay on the stick blender. It won’t break apart and it won’t drip off like water.) (You can wipe off stick blender with cloth towel and run it in a container of warm soap water to clean it before it solidifies, after you have poured your soap batter.)
Step 5 – Pour Batter
Pour all batter into the mold, pouring close to spatula to avoid adding air bubbles. Bang the mold on working surface to release any trapped air.
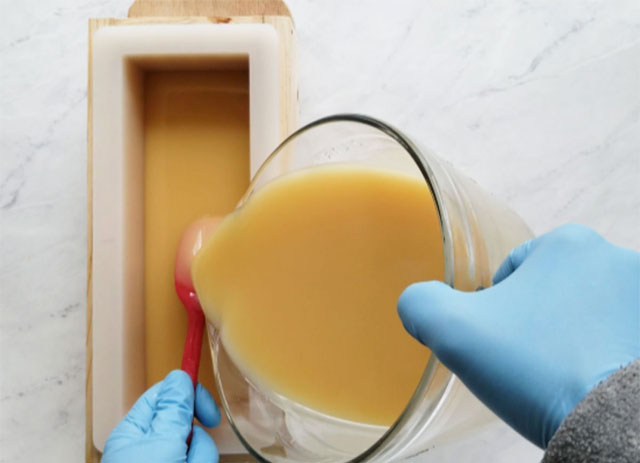
Clean up any batter that may have splattered on the sides of the mold.
Step 6 – Put Through Gel*
Next, set your mold on top of the heating pad. Then, cover it with Plexiglas/cardboard and then cover and seal with plastic wrap. Next, insulate with blankets/towels. Set your timer for 30 minutes. When the timer rings, slide your hand up under the towels and feel the air. If the air is warm, turn off the heating pad. If it’s not warm, keep repeating in 30 minute increments until the air under the towels feels warm, then turn off the heating pad. At this point, make sure the mold is snug and keep it covered for at least 48 hours. (The sooner the soap is exposed to air, the more likely it is to develop soda ash (a white film on surface of soap). Ambient temperature matters as well. If your home is warm, you probably won’t need the heating pad.
*You don’t have to put your soap through gel; you will get soap no matter if it goes through gel or not. This soap is made with a lower percentage of water to prevent glycerin rivers. With less water, soap goes through gel phase faster, often causing partial gel. That’s why it often needs to be forced through gel. Other benefits of forcing soap through gel are that it releases from the mold easier, it is harder, it cures faster & lasts longer, the colors are often more brilliant, and it avoids partial gel.
Step 7 – Clean Up
If oils (and grease from cooking) combine with lye water in your drains, the fats will most likely solidify and basically turn into soap. It is nearly impossible to remove that from plumbing.
It is good practice to wipe out all containers before doing dishes. Wipe out all oils and all lye solution with paper towels and safely dispose of. All soap batter can be wiped out with a cloth towel and washed with laundry.
Wash all wiped out dishes with warm soapy water.
Step 8 – Unmold and Cut Soap
After 48 hours, if the soap releases from the mold easily without sticking to the sides, it’s ready to unmold. If not, cover and let it sit until it’s ready. (It doesn’t pay to rush unmolding.)
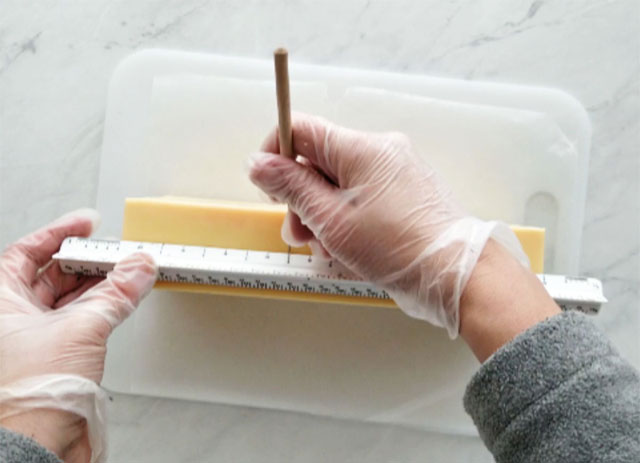
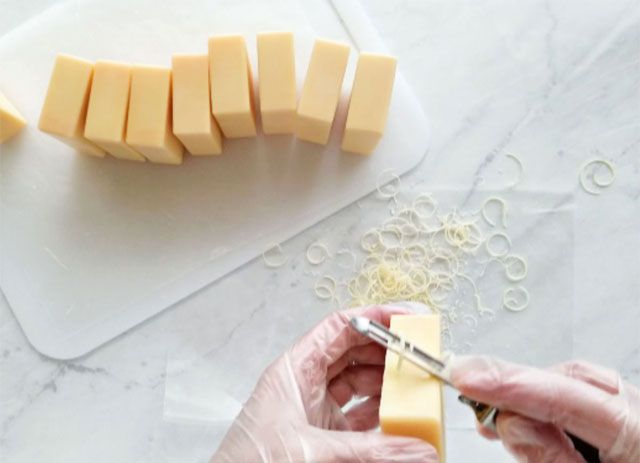
Bevel all four long edges of the soap loaf.
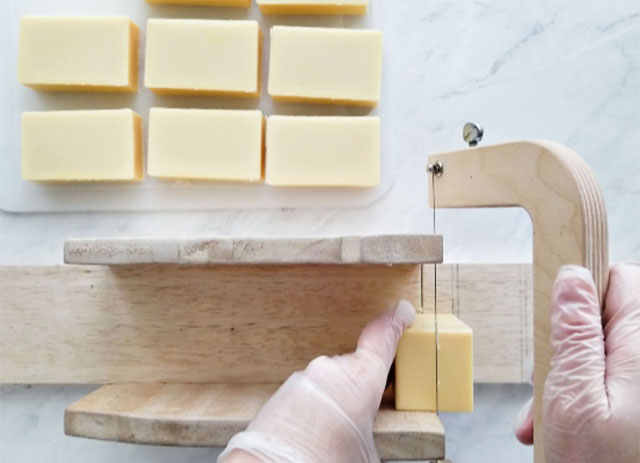
Mark your soap and cut it into 10 pieces.
Bevel remaining edges if desired.
Finally, allow them to cure for 4-6 weeks in a well ventilated area and Enjoy!
PDF DOWNLOAD FOR YOUR CONVENIENCE
SHARE ON SOCIAL MEDIA
![]()
![]() Share this tutorial on Facebook
Share this tutorial on Facebook![]()
![]() Tweet about this tutorial
Tweet about this tutorial


